
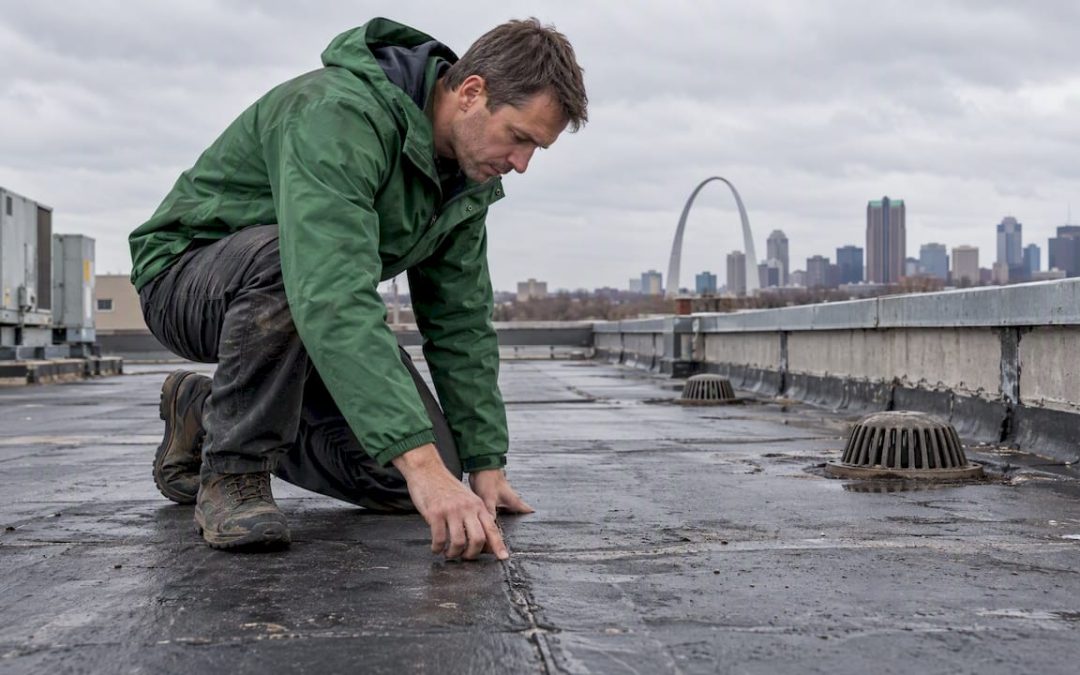
A commercial roof inspection is a documented, photographed evaluation of a roof’s condition that identifies leaks, trapped moisture, and repair priorities so you can plan maintenance or capital spending with confidence. Inspectors combine a visual walk of the roof surface with nondestructive tests like infrared thermography when moisture is suspected. If your roof hasn’t been checked recently or after a storm, the next step is scheduling an inspection or requesting a scoped quote before small defects turn into structural repairs.
TL;DR:
- Schedule preventive inspections twice a year, in spring and fall, and arrange another after hail, high winds, or heavy snow followed by rapid melt.
- Infrared scans work best at night or with suitable temperature differences; confirm each thermal anomaly with a physical test before pricing repairs.
- Require timestamped photos labeled by location, defect markings on a roof plan, urgency ratings, and specific next steps, not loose images.
- A 10,000 square foot building inspection example costs $1,800 to $3,200, but quotes rise with roof complexity, access needs, and added diagnostic tests.
Table of Contents
- What a commercial roof inspection is and why it matters
- Types of commercial roof inspections and when to use each
- Comprehensive commercial roof inspection checklist
- How often to inspect and the best timing for accurate findings
- Cost and what affects the price of a commercial roof inspection
- How to prepare the site and what to have ready before the inspection
- Inspection technologies and non-destructive testing
- Safety, standards, and vetting an inspector
- Next steps after an inspection: interpreting results and planning repairs
- Why a dependable inspection partner changes the outcome
- Schedule a commercial roof inspection with our team
- FAQ
- Sources
What a commercial roof inspection is and why it matters
A commercial roof inspection is a methodical evaluation of a roofing system’s materials, drainage, flashing, and structural performance, carried out by someone trained to spot the difference between cosmetic wear and a developing failure. It isn’t a glance from the parking lot. A thorough inspection walks the entire roof surface, checks every penetration, and often includes an interior walkthrough to catch ceiling stains or wet insulation before they become visible from outside.
Owners and managers typically order an inspection for one of a few reasons:
- Routine maintenance to catch small problems before they become expensive ones
- A property sale or refinance, where a lender or buyer wants documented condition
- Storm or wind damage that needs a timely, insurable record
- Project closeout, to confirm a new roof or major repair was installed correctly
- An insurance carrier’s periodic risk assessment request
The resulting report does more than describe the roof. It gives you a prioritized list of repairs, supports capital budgeting decisions, and creates a paper trail that matters if you ever file an insurance claim or need to prove maintenance history for a warranty dispute. For owners thinking further ahead, understanding how ventilation and maintenance affect roof life expectancy helps frame inspection findings in terms of years of service gained or lost.
Types of commercial roof inspections and when to use each
Not every inspection serves the same purpose, and knowing which type you need saves time and money. Routine, preventive inspections are scheduled twice a year, usually spring and fall, to catch seasonal wear before it compounds. Special inspections are tied to events: a post-construction inspection confirms new roofing work meets spec, while a pre-closeout inspection documents condition just before a warranty period begins.
Emergency or storm inspections follow a different playbook entirely. These prioritize safety first, identify any active leaks that need immediate temporary repair, and isolate the source of water intrusion so it doesn’t spread to insulation or structural decking.
Beyond the standard walk-through, specialty surveys add diagnostic depth:
- Infrared thermography maps subsurface temperature differences that often indicate trapped moisture
- Capacitance or moisture-grid surveys quantify how much of the roof area is affected and help rank repair priorities
- Drone and aerial surveys capture large roof areas quickly and are useful for steep-slope or hard-to-access sections
Choosing the right type up front keeps the inspection scope, cost, and turnaround aligned with what you actually need, whether that’s a routine seasonal check or documentation to support an insurance claim after hail damage.
Comprehensive commercial roof inspection checklist
A complete inspection covers four physical zones of the building plus the interior, and knowing what should be on the list helps you confirm an inspector did a thorough job rather than a quick walk-through.
- Roof surface: membrane condition, seams and laps, surface punctures or blistering, ponding water, and loose ballast or gravel.
- Edges and flashings: coping caps, termination bars, counterflashings, through-wall flashing, and the condition of sealants at every transition.
- Penetrations and rooftop equipment: HVAC curbs, skylights, pipe boots, pitch pans, and the flashing around any equipment mounted on the roof deck.
- Drainage systems: scuppers, internal drains, and gutters, checked for blockages and confirmed to have proper slope so water doesn’t pool.
- Interior signs: ceiling stains, wet or compressed insulation, visible deck deterioration, and any deflection in the roof deck itself.
Each of these zones can hide a problem that isn’t visible from a single vantage point. A ceiling stain two floors down, for example, often traces back to a flashing failure at a rooftop unit on the opposite side of the building, which is why the interior walkthrough matters as much as the rooftop walk. Professional inspections commonly pair exterior roof checks with an interior walkthrough specifically to catch these indirect signs of moisture intrusion.
Pro Tip: Ask for photos labeled with their location on a roof plan, not just a folder of unsorted images. It makes prioritizing repairs with your maintenance team or contractor far faster.
What you should expect in the final deliverable matters just as much as the walk-through itself:
- Labeled, time-stamped photos of every defect found
- Defect locations marked on a roof plan or diagram
- A severity or priority rating for each issue (immediate, near-term, monitor)
- Specific recommended next steps, not just a list of problems
A checklist like this is also the backbone of what lenders expect when a commercial property changes hands. If you’re navigating a sale or refinance, a lender-ready commercial inspection checklist with sampling rules spells out exactly what documentation a bank or underwriter will want to see.
How often to inspect and the best timing for accurate findings
Industry guidance generally recommends at least two inspections a year, typically in spring and fall, so you catch winter damage before it compounds through summer heat, then check for storm or wind wear before cold weather sets in. Beyond that biannual rhythm, inspect immediately after any significant weather event, including hail, high wind, or heavy snow followed by rapid melt.
Timing also matters for the inspection’s accuracy, not just its frequency:
- Schedule inspections before warranty deadlines or capital-planning cycles so findings can inform budget decisions
- Infrared thermography often works best at night or during specific temperature differentials, since daytime solar heating can mask the thermal patterns that indicate moisture
- Any thermal anomaly flagged during a scan should be followed up with a physical verification step before repairs are scoped
Getting the timing right the first time avoids a second site visit. A thermographer who shows up at the wrong hour or on the wrong day for ambient conditions may return inconclusive results, adding cost and delay to a process that should give you clear answers.
Cost and what affects the price of a commercial roof inspection
Commercial roof inspection costs vary widely because the scope varies widely. The biggest cost drivers are roof area, roof complexity (number of penetrations, equipment, and flashing details), ease of access, and whether the job calls for infrared thermography or drone imagery on top of the standard visual walk.
A straightforward visual inspection on a smaller, low-complexity roof costs far less than a full assessment that includes a moisture survey and confirmatory core cuts. For a sense of real-world numbers, a commercial inspection cost example for a 10,000 square foot building runs $1,800 to $3,200, though your actual quote depends on the specific scope agreed with the inspector.
Key factors that move the price up or down:
- Total roof square footage and number of separate roof sections
- Roof complexity: skylights, HVAC units, pitch pans, and other penetrations each add inspection time
- Access difficulty, including the need for lifts or specialized fall protection
- Whether infrared thermography or drone surveys are included in the scope
- Travel and mobilization distance for the inspection team
- Level of report detail and how fast you need the turnaround
Documented costs for moisture surveys vary with scope and roof size, according to research on capacitance moisture survey methods, which means a quote that bundles a moisture survey will typically run higher than a visual-only inspection. When comparing quotes, ask each provider to list exactly what’s included: whether a moisture survey, drone flight, or core sampling is part of the base price or billed separately. A quote that looks cheaper on paper sometimes excludes the diagnostic work you actually need.
How to prepare the site and what to have ready before the inspection
A few preparation steps make the inspection faster, safer, and more useful once the report lands on your desk. On the logistics side, clear access to roof hatches and ladders, remove any temporary debris or stored materials blocking walkways, and confirm rooftop conditions are safe to walk.
Gather your records ahead of time:
- Roof plans or as-built drawings
- Warranty documents and manufacturer specifications
- Previous inspection reports, if any exist
- Maintenance records and any history of storm damage or past repairs
Coordinate with anyone affected by the visit. Notify tenants if the inspection requires roof access through occupied space, designate a single point of contact for the inspector, and flag any known safety hazards, like a skylight without a guardrail or an area of known deck weakness, before the team arrives.
Pro Tip: Pull your last roofing invoice and any manufacturer warranty paperwork before the inspector arrives. It saves time and helps them flag any work that might affect warranty coverage.
Inspection technologies and non-destructive testing
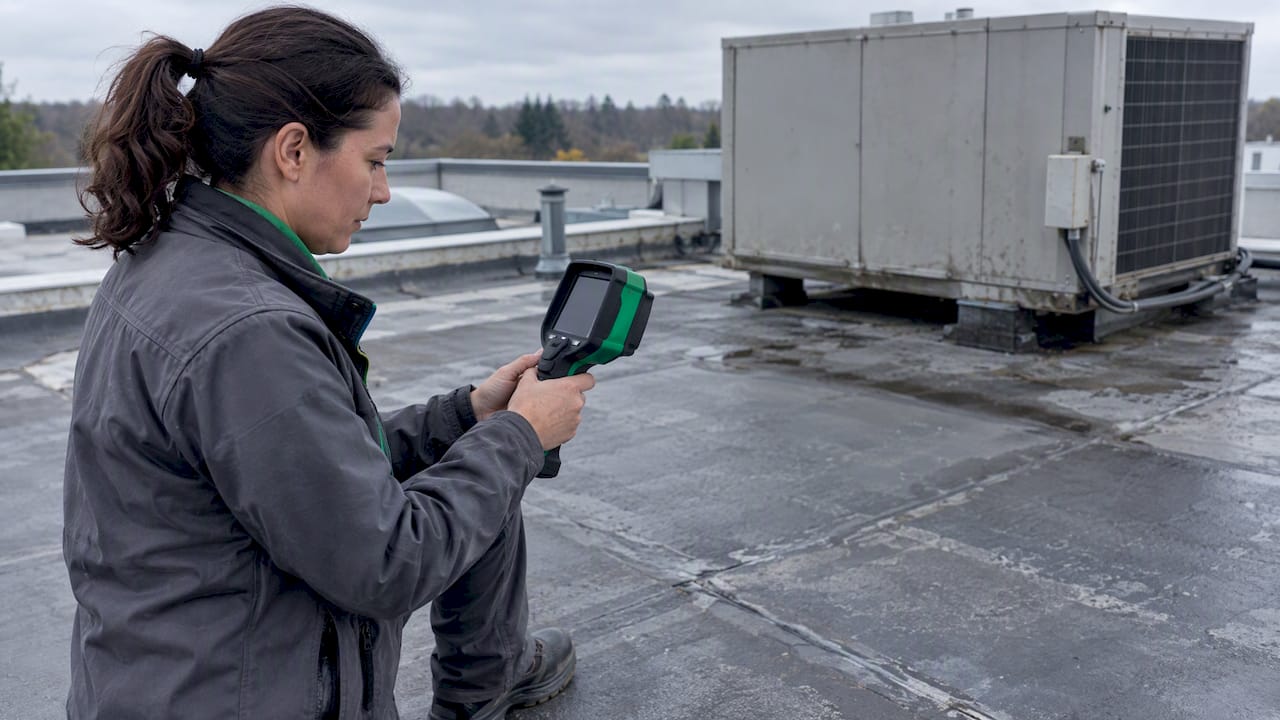
Modern inspections lean on a handful of nondestructive tools, each suited to a different part of the diagnostic picture. Infrared thermography detects thermal patterns that often signal trapped moisture beneath the roof membrane, and it’s considered one of the more reliable ways to find hidden moisture before it becomes a visible leak. The results still need a trained thermographer to interpret correctly, and anomalies should be confirmed with a physical test cut rather than acted on from the scan alone.
Capacitance and impedance moisture meters add a quantitative layer, mapping the boundaries of wet areas across a grid so you can see how much of the roof is affected and prioritize repair zones accordingly.
- Infrared thermography: maps thermal patterns tied to moisture, verified by trained operators
- Capacitance/moisture meters: quantify wet-area extent across a grid survey
- Drones and aerial imagery: speed up large-area capture, though operators need FAA authorization or waivers depending on location and flight conditions
- Core cuts: the definitive confirmation step after any nondestructive survey flags a suspect area
No single tool replaces a physical check. A thermal scan or moisture meter reading narrows down where to look, but a core cut or interior inspection is what confirms the finding before you commit to a repair budget.
Safety, standards, and vetting an inspector
Roofing work carries real fall and fire risk, and OSHA guidance outlines employer responsibilities for job site safety programs, including regular inspections, worker training, fall protection, and fire prevention during hot roofing operations. On the technical side, thermography and moisture-location work may refer to relevant industry standards.
Before hiring an inspector, ask:
- What certifications do you hold, and are you insured?
- Can I see a sample report?
- What’s the turnaround time for the final report?
- Do you perform repairs, or are you independent of contracting work?
That last question matters more than it might seem. Independent assessments from firms with no repair or contractor relationship tend to produce more objective findings, free of pressure to recommend work that benefits the inspector’s bottom line.
Next steps after an inspection: interpreting results and planning repairs
A good report ranks findings by urgency, typically immediate, near-term, and monitor. Use that ranking to separate safety issues or active leaks needing temporary repair now from items that can roll into a planned capital project later.
- Address immediate and safety-flagged items first, even if full repairs come later
- Request a focused forensic moisture survey if the inspection flags widespread or ambiguous wet areas
- Use the report to support capital planning, budgeting discussions, and conversations with insurers or lenders who need documented condition
Keep the report on file. It becomes the reference point for every future inspection, repair bid, or insurance conversation tied to that roof. A maintenance inspection checklist can help you track repair priorities between full inspection cycles.
Why a dependable inspection partner changes the outcome
The real value of a good commercial roof inspection isn’t the report itself, it’s how fast you can act on it. A clear, photographed, prioritized report turns a vague worry about roof condition into a specific list you can hand to a contractor or a lender. Video inspection options and fast report turnaround matter here too: the sooner stakeholders see documented evidence, the sooner repairs get approved and scheduled instead of stalling in committee.
— JOHN
Schedule a commercial roof inspection with our team
We handle commercial inspections across the properties our clients manage, and we built our process around speed without cutting corners on documentation. Every inspection comes back with a prompt report, so you’re not waiting weeks to start budgeting repairs or responding to a lender’s request.
- Commercial inspections
- Video inspection options when an in-person visit isn’t practical for every stakeholder
- Our Create Request List™ workflow, which keeps communication between you and your team organized from report to repair
If you need a scoped quote or want to get an inspection on the calendar, reach out through our commercial inspection page and we’ll walk you through what your property needs.
FAQ
What’s included in a roof inspection?
A commercial roof inspection typically covers the roof surface, flashings, penetrations, and drainage systems, along with an interior check for ceiling stains or wet insulation. The final report includes labeled photos, defect locations, and a priority rating for each issue found.
What is the 25% rule for roofing?
Applicable requirements vary by jurisdiction and insurance policy, so check your local building code or policy language for the exact figure that applies to your property.
Do you need a license to inspect roofs?
Licensing requirements for roof inspectors vary by state and by the type of inspection being performed. Checking an inspector’s certifications and insurance coverage directly is a more reliable way to confirm qualification than assuming a universal licensing standard applies.
What will fail a roof inspection?
Active leaks, significant ponding water, deteriorated flashing, and wet or compromised insulation are among the most common issues that flag a roof for immediate repair. Structural deck deflection or widespread membrane damage typically pushes a roof toward a “near-term” or “immediate” priority rating rather than a passing grade.
Recent Comments