
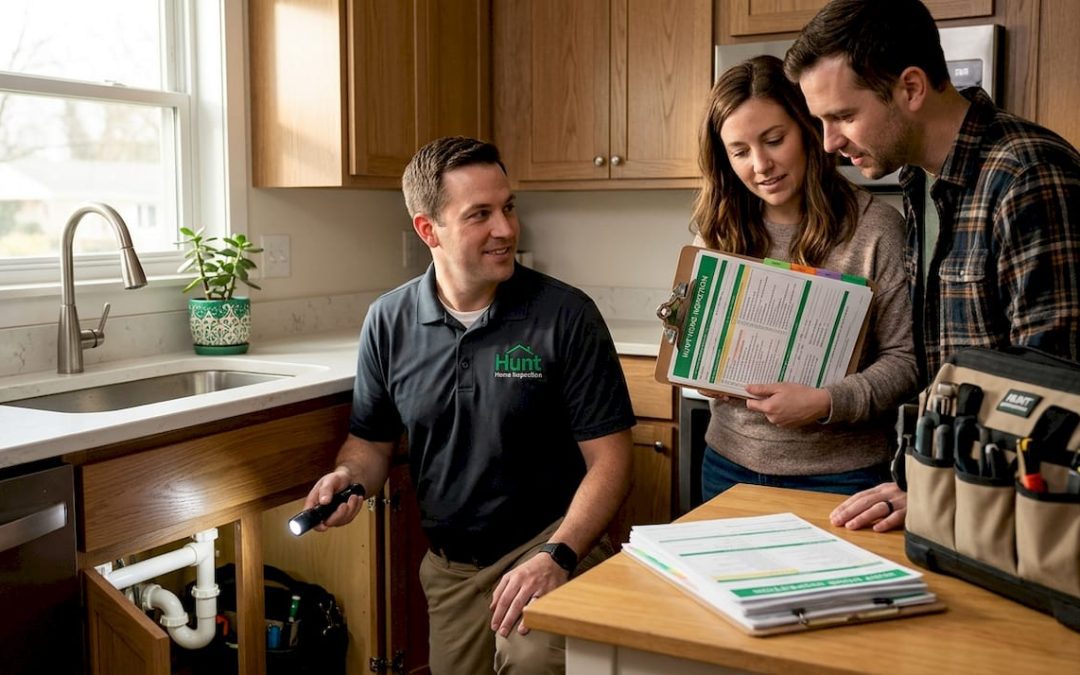
Most buyers assume a home inspection is just a formality, a box to check before closing. That misconception costs people thousands of dollars every year. The home inspection process explained properly is a structured, professional evaluation of a property’s condition, and understanding it gives you real negotiating power. This guide walks you through every phase, from scheduling your inspection right after offer acceptance to reading the report and deciding your next move, so you walk into closing with your eyes open.
Table of Contents
- Key takeaways
- The home inspection process explained: your timeline from offer to closing
- What home inspectors actually examine
- How to prepare and what to expect on inspection day
- Reading your report and deciding what to do next
- Common pitfalls that trip up buyers
- My honest take after years in the field
- Ready to schedule your inspection with Jhunthomeinspections?
- FAQ
Key takeaways
| Point | Details |
|---|---|
| Schedule quickly after offer | Book your inspection within 2 to 3 days of mutual acceptance to stay inside your contingency window. |
| Attend the walkthrough | Buyers who accompany the inspector understand findings better and ask questions in real time. |
| Know what is excluded | Standard inspections are visual only; radon, mold, and sewer scope tests require separate add-on services. |
| Read the report strategically | Separate safety hazards from maintenance items before deciding whether to negotiate, request repairs, or walk away. |
| Watch your deadline | Contingency periods typically run 7 to 14 days; missing the deadline can waive your protections automatically. |
The home inspection process explained: your timeline from offer to closing
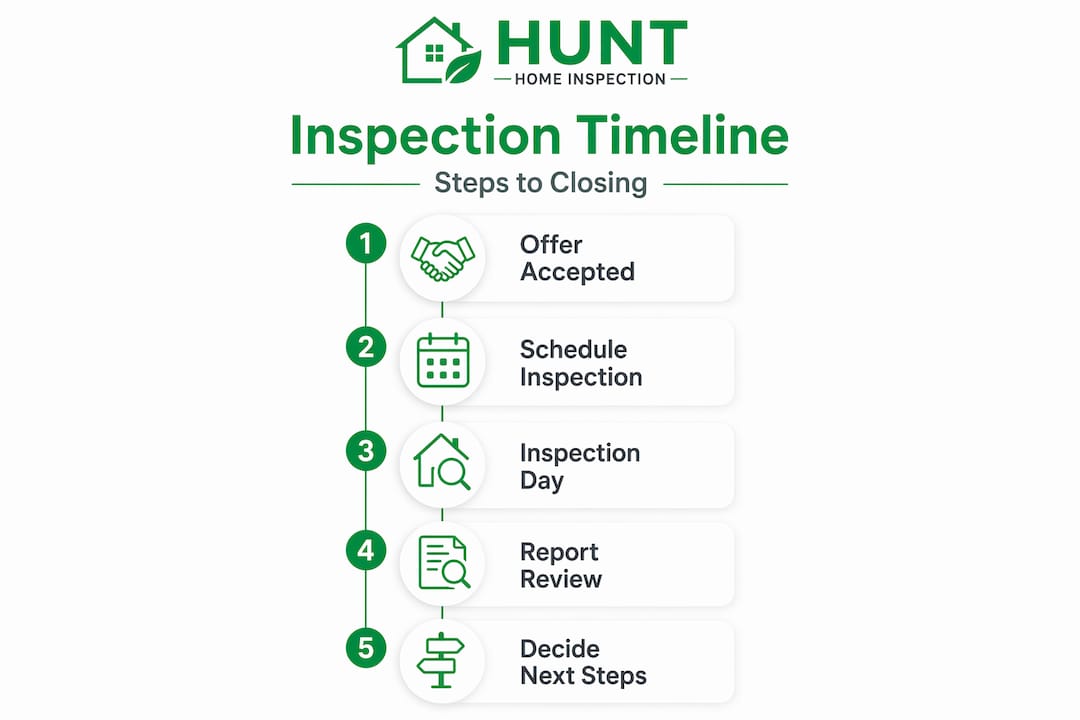
Once your offer is accepted, the clock starts. Most real estate contracts include an inspection contingency, and contingency windows typically last 7 to 14 days after mutual acceptance, though some states run longer. California’s standard contract, for example, defaults to 17 days. Your job is to move fast and use every day wisely.
Here is how the steps in a home inspection typically unfold:
- Book the inspector within 48 hours. Qualified inspectors fill up quickly, especially in active markets. Waiting until day four or five of your contingency window leaves almost no time for follow-up specialist visits.
- Confirm access and utilities. The seller or listing agent needs to make sure water, gas, and electricity are active and that all areas of the home are accessible before inspection day.
- Attend the inspection. Plan for three to four hours on-site for a standard single-family home. Larger properties can run five to six hours.
- Receive the report. Most inspectors deliver reports within 24 to 48 hours after the visit. Some modern software platforms enable same-day delivery.
- Review findings and consult your agent. Decide whether to request repairs, ask for a credit, accept the home as-is, or walk away.
- Submit your response before the deadline. Failure to act before the contingency deadline typically results in an automatic waiver of your protections under the contract.
Pro Tip: Schedule any specialist follow-ups, such as a structural engineer or HVAC technician, early in the contingency window. Specialists often have lead times of several days, and booking them early gives you the information you need before your deadline hits.
What home inspectors actually examine
A standard home inspection covers the visible, accessible systems and structural components of a property. Think of it as a systems investigation rather than a room-by-room checklist. Inspectors trace how plumbing, electrical, and HVAC systems connect and affect each other, which is far more useful than simply noting that a faucet drips.
The major areas covered in a typical inspection include:
- Roof: Shingles, flashing, gutters, downspouts, and visible signs of leaks or deterioration
- Foundation and structure: Visible cracks, settling, water intrusion, and framing concerns
- Electrical system: Panel condition, wiring type, grounding, GFCI protection, and visible safety hazards
- Plumbing: Water pressure, drain function, supply line condition, water heater age and operation
- HVAC: Heating and cooling equipment function, filter condition, ductwork, and estimated remaining service life
- Attic and insulation: Ventilation, insulation depth, signs of moisture or pest activity
- Basement and crawlspace: Water staining, structural concerns, vapor barriers, and mechanical access
What inspections do NOT cover is equally worth knowing. Standard inspections are visual and non-invasive, meaning inspectors will not cut into walls, move furniture, or test for environmental hazards. ASHI and InterNACHI standards both limit scope to accessible areas only.
| Included in standard inspection | Requires a specialty add-on |
|---|---|
| Roof, foundation, electrical, plumbing, HVAC | Radon testing ($150 to $250) |
| Attic, basement, crawlspace | Sewer scope ($125 to $400) |
| Windows, doors, insulation | Mold testing ($300 to $600) |
| Visible structural components | Termite or WDI inspection ($50 to $280) |
Specialty add-on costs vary by market and provider, but they are almost always worth the investment. A $200 radon test or a $150 sewer scope can reveal problems that would cost tens of thousands of dollars to fix after closing.
Pro Tip: Understanding what is excluded from a standard inspection is just as important as knowing what is included. Specialty risks like radon or hidden mold require separate expert evaluation. Do not assume a clean standard report means a clean bill of health on every front.
How to prepare and what to expect on inspection day
Your preparation as a buyer directly affects how thorough your report will be. Clearing clutter, ensuring access to mechanicals, and running water before the inspector arrives prevents areas from being marked “uninspectable,” which is a designation that leaves you with unanswered questions.
If you are the buyer, here is what to do before and during the inspection:
- Confirm the seller has cleared access to the attic hatch, electrical panel, water heater, furnace, and crawlspace entry
- Ask your agent to verify that all utilities are active, including gas, water, and electricity
- Arrive at the start of the inspection, not at the end
- Bring a notepad or use your phone to take notes alongside the inspector’s observations
- Ask questions throughout, especially when the inspector flags something significant
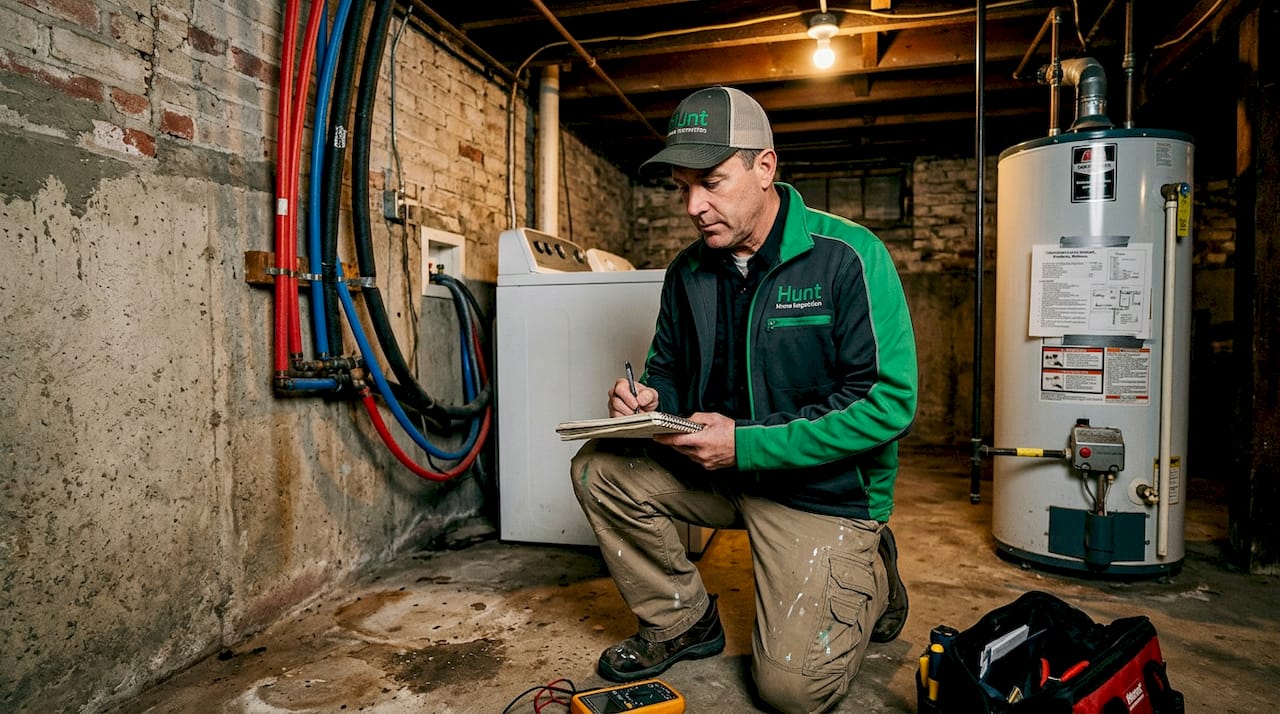
The inspection itself moves through the exterior first, then the interior systems, then the attic and basement or crawlspace. A typical single-family home takes 3 to 4 hours on-site, with interior systems like plumbing, electrical, and HVAC consuming the bulk of that time.
Pro Tip: Accompanying the inspector is the single most valuable use of your time during the inspection. Buyers who attend the walkthrough consistently report better understanding of the report and fewer surprises at closing.
Reading your report and deciding what to do next
Your inspection report will likely run 30 to 50 pages and include photographs, written descriptions, and severity ratings for each finding. That volume can feel overwhelming. The key is to sort findings into three buckets before you react.
- Safety hazards. These are items that pose an immediate risk to occupants, such as exposed wiring, a cracked heat exchanger, or improper gas line connections. These are non-negotiable. Address them before closing or walk away.
- Major defects. Significant structural or mechanical issues that will require costly repairs, like a failing roof, a compromised foundation, or a 25-year-old HVAC system on its last legs. These drive your negotiation.
- Maintenance items. Caulking, minor grading issues, dirty filters, and similar low-cost tasks. These are normal wear and should not derail a deal.
Once you have sorted the findings, you have four realistic options: accept the home as-is, request that the seller make specific repairs before closing, negotiate a price reduction or closing cost credit to cover repair costs, or walk away if the problems exceed what you are willing to take on.
The report format at Jhunthomeinspections is designed to make this sorting process straightforward. Photos and clear severity labels help you and your agent build a prioritized repair request without guessing.
Pro Tip: Ask your inspector directly which items they would address first and which ones they consider low urgency. Inspectors can clarify the evidence behind major concerns and help you distinguish between what needs immediate action and what can wait.
Common pitfalls that trip up buyers
Even buyers who do their homework make avoidable mistakes during the inspection process. Knowing where people go wrong puts you ahead of most.
- Skipping the walkthrough. Reading a 40-page report without context is confusing. Being present during the inspection gives you the mental picture that makes every finding make sense.
- Treating every finding as a crisis. No house is perfect. A long list of findings does not mean a bad house. It often means a thorough inspector. Focus on severity, not volume.
- Ignoring the contingency deadline. Legal contracts around inspection contingencies vary by jurisdiction, but missing your deadline in almost every state means you lose your right to negotiate or exit without penalty.
- Overlooking the inspection report as a long-term resource. Your report is a maintenance roadmap for the home you are about to own. Even items flagged as “monitor” give you a heads-up on what to budget for in years two and three.
- Misunderstanding scope limitations. A standard inspection does not cover everything. Assuming a clean report means no hidden problems is a costly mistake. Add specialty services when the property warrants them.
My honest take after years in the field
I have worked with hundreds of buyers through the inspection process, and the pattern I see most often is this: buyers either panic at a long report or dismiss it entirely because the house “looked fine.” Both reactions miss the point.
What I have learned is that the inspection is not a pass/fail test. It is a detailed briefing on the property you are about to spend hundreds of thousands of dollars on. The buyers who get the most out of it are the ones who show up, ask questions, and treat the findings as information rather than verdicts.
The most underused part of the process, in my experience, is the post-inspection conversation with the inspector. Most people get the report and immediately call their agent. That is fine, but calling the inspector first to ask “what would you fix first if this were your house?” gives you a perspective that no report page can replicate.
I have also seen buyers walk away from solid homes because of cosmetic issues flagged in the report, and I have seen buyers close on homes with serious structural problems because they did not attend the walkthrough. Both outcomes were avoidable. Show up. Pay attention. Use the information.
— JOHN
Ready to schedule your inspection with Jhunthomeinspections?
At Jhunthomeinspections, we serve buyers throughout the St. Louis Metro area and Southern Illinois with thorough, timely inspections and reports delivered within 24 hours. Whether you are a first-time buyer, a veteran, or simply someone who wants to understand exactly what they are purchasing, our team walks you through every finding in plain language.
Our inspection services cover all major systems and structural components, and we offer add-on specialty services so you can customize your inspection to the property. We also offer video inspections for buyers who cannot attend in person. Our proprietary Create Request List™ tool makes it simple to share findings with your agent and build a repair request without the back-and-forth. You can also explore our flexible payment options if you prefer to pay at close. Schedule today and go into closing with confidence.
FAQ
What does the home inspection process cover?
A standard home inspection covers the roof, foundation, electrical system, plumbing, HVAC, attic, and basement using visual, non-invasive methods. Environmental tests like radon or mold require separate specialty services.
How long does a home inspection take?
A typical inspection runs 3 to 4 hours for an average single-family home, with larger properties taking 5 to 6 hours depending on size and condition.
When do I get the inspection report?
Most inspectors deliver reports within 24 to 48 hours after the on-site visit, often with photos and severity ratings for each finding.
Can I walk away after a home inspection?
Yes. If findings reveal major defects or safety hazards, you can withdraw from the purchase within your contingency window without losing your earnest money, as long as you act before the deadline.
What are the most common home inspection findings?
Common findings include aging roofs, outdated electrical panels, water heater issues, HVAC maintenance needs, and minor grading or drainage concerns. Most are negotiable or manageable with proper planning.
Recent Comments