
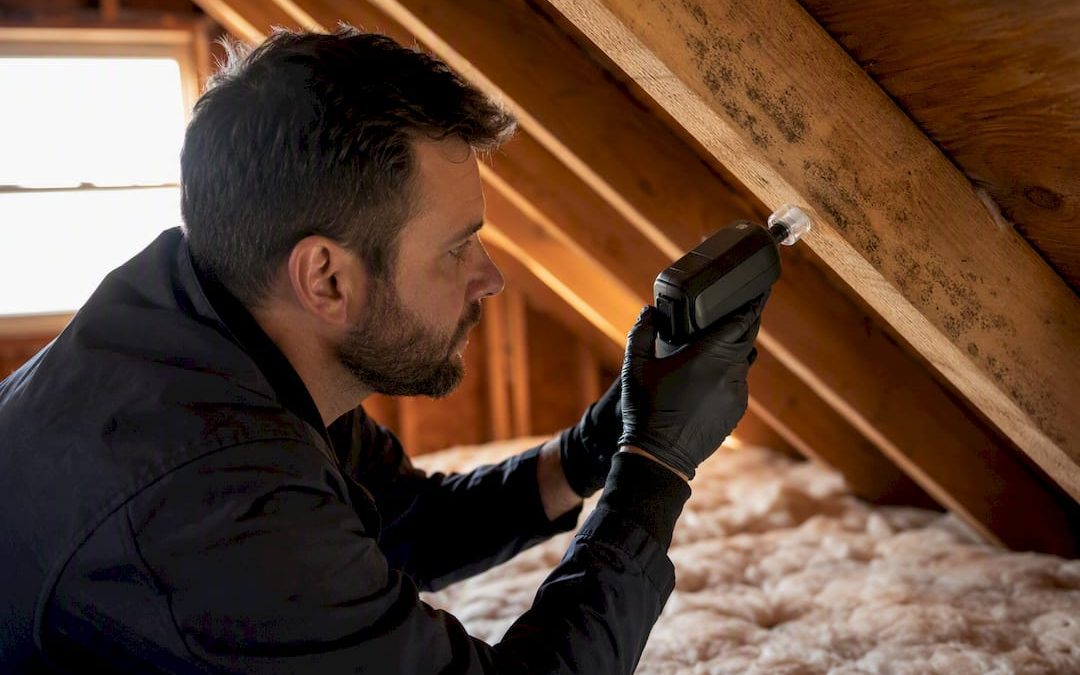
Yes, independent post-remediation mold testing is the objective way to confirm that a mold job actually worked. It combines a white-glove visual inspection, moisture readings, and air sampling into one clearance report, and that report is what protects your health, your resale value, and your insurance claim if anyone ever questions the work.
TL;DR:
- Independent post-remediation mold testing should include visual inspection, moisture assessment, and air sampling, with a focus on timing and protocol accuracy.
- Moisture readings and indoor-outdoor spore ratios below 1.0 or up to 1.5 are generally acceptable, but high moisture or indicator species can override these metrics.
- Testing should be scheduled 24 to 48 hours after cleaning, with containment sealed, HEPA filtration running, and samples handled by accredited third-party labs.
- Inspectors must hold credentials like CIH or IEP and should provide comprehensive reports with photos, moisture readings, and lab data, avoiding any contractor involvement.
- Repeated test failures require a corrective plan with reinspection, and costs depend on sample number, travel, and turnaround time, with results usually available within 24 to 72 hours.
Table of Contents
- What Is Post-Remediation Verification and When Should You Insist on It?
- The Three Components of a Real Clearance Test
- How to Protect the Validity of Your Test Results
- Who Should Test, and How to Keep the Process Honest
- How to Read a Clearance Report: Pass, Fail, and the Numbers in Between
- What to Do If the Clearance Test Fails
- What Testing Costs and How Long Results Take
- Quick Checklist Before You Hire an Inspector
- Why I Push Homeowners to Treat Clearance Reports as Legal Documents
- Book an Independent Clearance Inspection With Hunt Home Inspection
- Where to Read the Original Standards
- Sources
What Is Post-Remediation Verification and When Should You Insist on It?
Post-remediation verification, often shortened to PRV, is the formal inspection that happens after a remediation crew finishes cleaning. You’ll also hear it called clearance testing, remediation verification testing, or simply “testing for mold after cleanup.” All these phrases describe the same process: an independent check that confirms the contamination is actually gone, not just visually tidied up.
You should insist on PRV in three situations. First, if you’re filing an insurance claim, because adjusters increasingly want documentation that closes the loss cleanly. Second, if you’re buying or selling a home where mold was disclosed or found during inspection. Third, if anyone in the household has respiratory issues or allergies and you need real assurance beyond a contractor’s word.
U.S. practice for this work is anchored by a few sources:
- The IICRC S520 standard, which structures how remediation and clearance criteria are supposed to work together.
- EPA mold guidance, which stresses that fixing the moisture source is the real fix, not just cleaning surfaces.
- CDC guidance on mold, which frames when testing adds value versus when visible cleanup and moisture control are enough.
The Three Components of a Real Clearance Test
A clearance test isn’t one procedure. It’s three, and skipping any one of them leaves a hole a failed remediation can slip through.
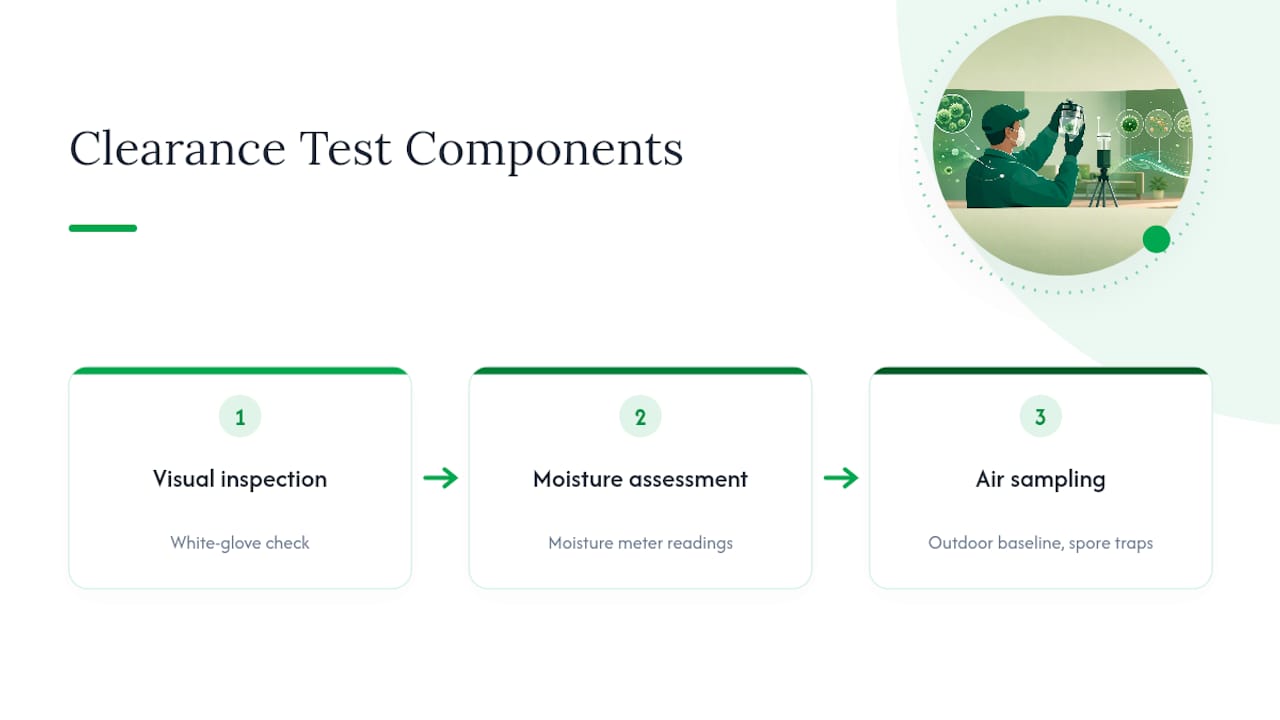
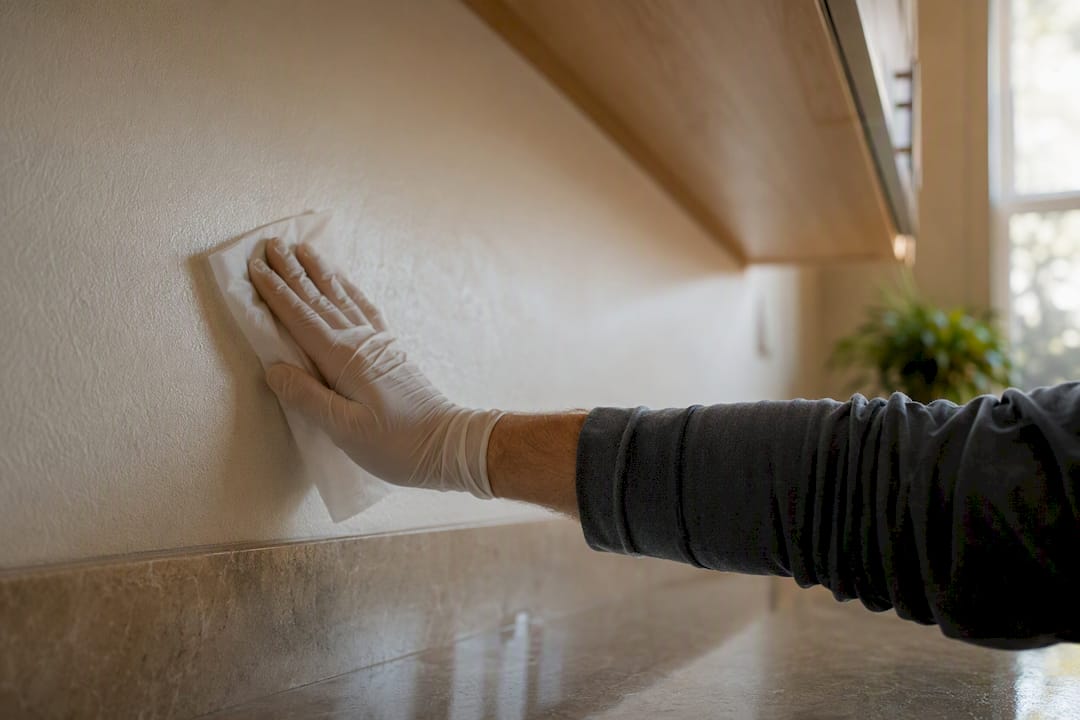
Visual inspection comes first and follows what the industry calls the white-glove standard: an inspector runs a cloth or glove over surfaces, checks cavities, and looks in corners a routine cleaning might miss. If there’s visible mold growth anywhere in the work area, that’s an automatic fail. No air sample gets run before this step passes.
Moisture assessment comes next. Inspectors use pin or pinless moisture meters on framing, subfloor, and drywall, checking against a target of low moisture content in wood framing, generally around dry-standard levels, along with indoor relative humidity readings. This step matters more than people expect. According to the PRV standard published by SCRT, elevated moisture readings can override an otherwise clean air sample, because damp materials are a near-certain predictor of regrowth within weeks.
Air sampling comes last, once the first two pass. A technician takes an outdoor baseline sample, then indoor samples inside the still-active containment, using spore-trap cassettes sent to an accredited lab for species identification and spore counts. The goal is comparability between indoor and outdoor air, not hitting some fixed number.
Statistic Callout: Industry sources caution that air sampling alone is unreliable as a clearance method. HEPA filtration running during sampling can temporarily suppress airborne spore counts, and settled surface spores may never show up in an air sample at all.
Pro Tip: Ask your inspector to photograph the moisture meter’s screen at each reading location, not just log the numbers. Insurers and buyers trust a photo far more than a typed figure they can’t verify.
How to Protect the Validity of Your Test Results
Timing and protocol errors invalidate more clearance tests than actual mold does. Follow this sequence:
- Schedule sampling 24 to 48 hours after final cleaning, while containment is still sealed. Testing too early catches dust from the work itself; testing too late after containment comes down risks cross-contamination from the rest of the house.
- Keep negative air pressure and HEPA filtration running through the sampling window. This is standard remediation practice, not something a homeowner needs to manage, but you should confirm it’s happening.
- Avoid sampling right after rain or heavy humidity swings, which can distort both moisture and air readings.
- Require chain-of-custody documentation for every sample, sent to a lab accredited under the AIHA’s Environmental Microbiology Laboratory Accreditation Program.
- Watch for red flags: broken containment before testing, the same company doing both remediation and clearance, or anyone offering an instant on-site “pass” with no lab involved. Any of these should stop you before you accept the results.
Who Should Test, and How to Keep the Process Honest
Never let the remediation contractor test their own work. That’s not a suggestion, it’s the single biggest conflict of interest in this entire process, and it’s why insurers and real estate attorneys increasingly ask specifically whether the inspector was independent.
Look for inspectors who hold credentials like Certified Industrial Hygienist (CIH), certification through the American Council for Accredited Certification (ACAC), or status as an Indoor Environmental Professional (IEP), and who can speak fluently about IICRC S520 procedures. Confirm they use an accredited third-party lab, not an in-house one.
Before hiring, ask directly:
- What’s your sampling protocol, and how many samples does a space this size typically need?
- Which lab do you partner with, and what’s their turnaround time?
- Will I get a written report with photos, moisture readings, and lab data, or just a verbal pass?
Pay the inspector yourself, or have your insurer pay them directly. Never let the remediation company cover the clearance inspector’s fee. Our guide on questions to ask a home inspector covers similar vetting ground if you want more detail on interviewing prospective inspectors.
How to Read a Clearance Report: Pass, Fail, and the Numbers in Between
The core concept behind interpreting results is comparability, not a universal cutoff. An indoor-to-outdoor spore ratio (I/O ratio) under 1.0 is the ideal, meaning indoor air is cleaner than or equal to outdoor air. Ratios up to roughly 1.5 can still be acceptable depending on species and context, according to guidance summarized by SCRT’s PRV overview.
Statistic Callout: An elevated wood moisture readings or elevated indoor relative humidity levels are generally treated as red flags serious enough to override an otherwise passing air sample.
Certain mold genera, like Stachybotrys or elevated Aspergillus/Penicillium counts far above outdoor levels, function as indicator species that trigger closer scrutiny even within an acceptable I/O ratio.
A defensible clearance report should include:
- Dated, labeled photographs from the visual inspection
- Moisture meter readings with locations noted
- Lab data showing spore counts and species by sample location
- A written narrative comparing indoor results to the outdoor control
What to Do If the Clearance Test Fails
A failed test isn’t a disaster, it’s information. Handle it in this order:
- Keep containment sealed. Don’t let anyone tear plastic down or start reconstruction.
- Document the failure with a copy of the full report, including the specific readings or visible mold that caused it.
- Get a written corrective action plan from the remediation contractor spelling out what they’ll redo and by when.
- Insist on no additional charge for rework if the failure traces back to incomplete work under your original contract.
- Bring back the same independent inspector for the re-test, using the identical protocol, so the results are directly comparable to the first round.
Pro Tip: If a failure repeats twice with the same contractor, that’s your signal to loop in your insurer or, in serious cases, a licensing board or attorney before authorizing a third attempt.
What Testing Costs and How Long Results Take
Clearance testing costs vary with the number of samples, travel distance, and whether you need expedited lab turnaround. Standard lab analysis typically takes 24 to 72 business hours; rush service costs more but can return same-day or next-day results when you’re racing a closing date.
- Book your independent inspector before remediation wraps up, not after, so scheduling doesn’t stall reconstruction.
- Confirm containment will still be intact on the day sampling happens.
- Ask how many samples the space requires. Larger properties or multiple affected rooms mean more samples and higher cost, but skimping on sample count is how failures get missed.
Quick Checklist Before You Hire an Inspector
Run through this before you sign anything:
- Do they provide photos, moisture readings, and a full lab report with chain-of-custody, not just a summary?
- Do they take an outdoor control sample plus indoor samples still inside containment?
- Are their credentials (CIH, ACAC, IEP) verifiable, and does their lab carry AIHA accreditation?
- Are they walking away from any relationship with the remediation contractor?
Walk away from anyone offering an instant on-site “certificate of clearance” with no lab report behind it.
Why I Push Homeowners to Treat Clearance Reports as Legal Documents
Most people think of a clearance test as a formality, a box to check before moving back into a room. I’d argue it’s closer to a legal document. If a mold problem resurfaces in eighteen months, or a buyer’s inspector finds staining during a later sale, that report is the only thing standing between you and a dispute you can’t win.
The part homeowners consistently underestimate is moisture. Everyone focuses on the air sample number, because it feels like the “real” test, but a moisture reading of 18% in wall framing tells you more about future regrowth than any spore count does. Fix the water intrusion, and the air numbers tend to sort themselves out. Ignore it, and no amount of clean air sampling on test day will save you from mold coming back within the year.
At Hunt Home Inspection, we build our process around that reality: full photo documentation, moisture readings at every checkpoint, and lab reports we did not generate ourselves, because independence is the entire point. You can read more about how our reports are structured on our home inspection report page.
— JOHN
Book an Independent Clearance Inspection With Hunt Home Inspection
Hunt Home Inspection gives St. Louis Metro and Southern Illinois homeowners something a remediation company testing its own work never can: a genuinely independent set of eyes on the results. We offer both in-person and live video walkthroughs, so you can watch the visual inspection and moisture checks happen in real time even if you can’t be on-site.
Every clearance job includes photo documentation, moisture meter readings, and lab data from an accredited third-party lab, delivered in a full written report within 24 hours. Our Create Request List™ tool also keeps communication between you, your agent, and your remediation contractor in one place, so nothing about the corrective work gets lost. If you need scheduling flexibility, we support pay-at-close arrangements to line up with your closing timeline. Visit our inspection services page to check availability and book your independent clearance inspection.
Where to Read the Original Standards
For the full technical detail behind this guide, see the IICRC S520 standard, EPA mold guidance, CDC mold FAQs, and the SCRT post-remediation verification overview. For medical concerns related to mold exposure, talk to a qualified healthcare provider.
This article is general information, not a substitute for advice from a qualified doctor. Consult a qualified healthcare professional about your own circumstances before acting on anything here.
Sources
- Post-Remediation Verification (PRV) overview — SCRT
- EPA — Mold
- CDC — Mold: Frequently Asked Questions
- IICRC S520 Standard for Professional Mold Remediation
Recent Comments