

A condo inspection is a professional evaluation of the interior unit’s physical condition, covering systems and finishes that fall within the buyer’s legal ownership boundary. Unlike a single-family home inspection, the condo inspection process excludes shared building components like the roof, foundation, and common hallways. Those elements belong to the homeowners association. That split in responsibility is exactly why understanding what is condo inspection process means going beyond the unit itself and reviewing HOA documents alongside the physical walkthrough.
What does a standard condo inspection cover?
A standard condo inspection focuses on every system and surface inside the unit you are buying. Condo inspections exclude common areas by design, because the American Society of Home Inspectors recognizes that owners hold title only to the interior of the unit. That boundary is defined in the condominium declaration or master deed, and it shapes everything the inspector can legally assess.
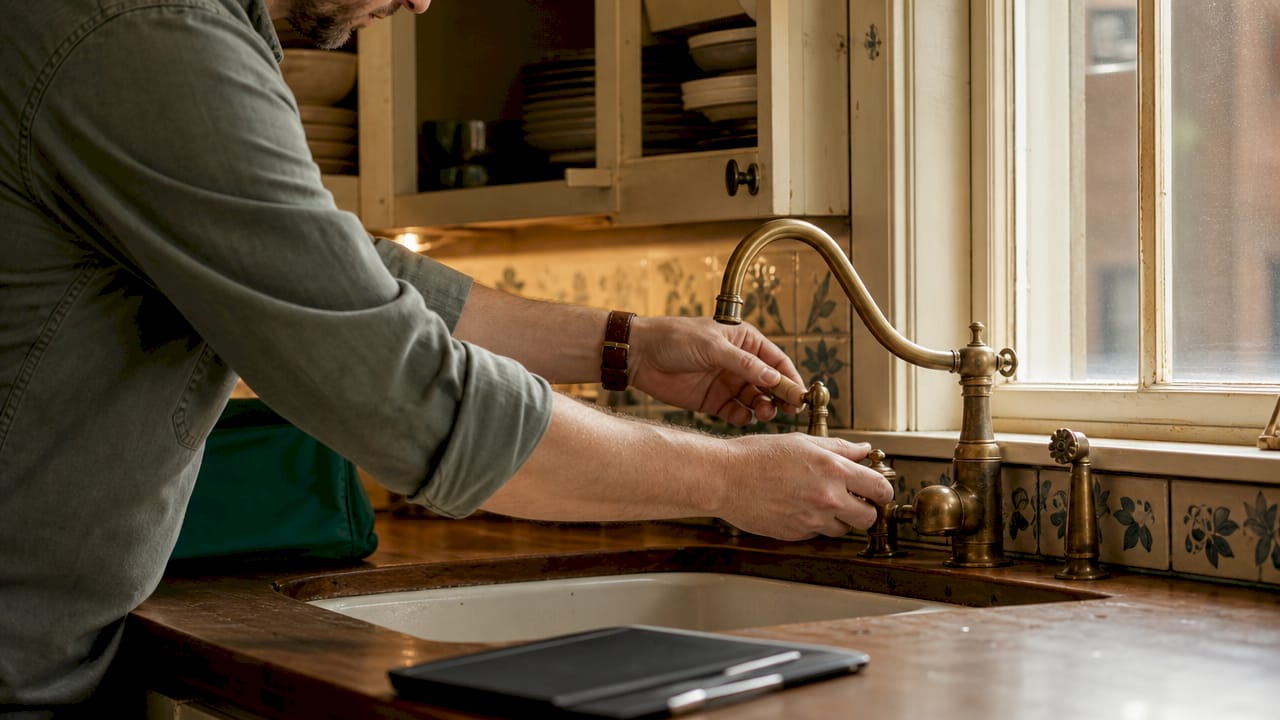
The ownership boundary in the condo declaration dictates the inspector’s scope, which is why buyers must treat the unit inspection and the HOA document review as two separate but equally necessary tasks.
A thorough condo inspection checklist covers these interior systems:
- Plumbing fixtures: Sinks, toilets, showers, bathtubs, and the in-unit water heater. The inspector checks for leaks, water pressure, drainage speed, and visible corrosion.
- Electrical panel and wiring: The inspector verifies the panel amperage, tests GFCI and AFCI protections in kitchens and bathrooms, and checks outlets, switches, and light fixtures throughout the unit.
- HVAC equipment: Furnaces, air handlers, mini-split systems, and thermostats inside the unit are all evaluated for function and condition.
- Included appliances: Refrigerators, dishwashers, ovens, and washer/dryer units that transfer with the sale are tested for basic operation.
- Interior finishes: Walls, ceilings, and floors are checked for water stains, cracks, and structural movement. Windows and doors are tested for proper sealing and operation. Balconies are inspected for railing stability and surface condition.
What the inspector will not cover includes the building’s roof, exterior walls, elevators, parking structures, and any shared mechanical systems. Those fall under HOA jurisdiction.
Pro Tip: Before the inspection, pull out the condo declaration and identify your unit’s ownership boundary. Share it with your inspector so both of you are aligned on what is and is not in scope.
How does the condo inspection process work, step by step?
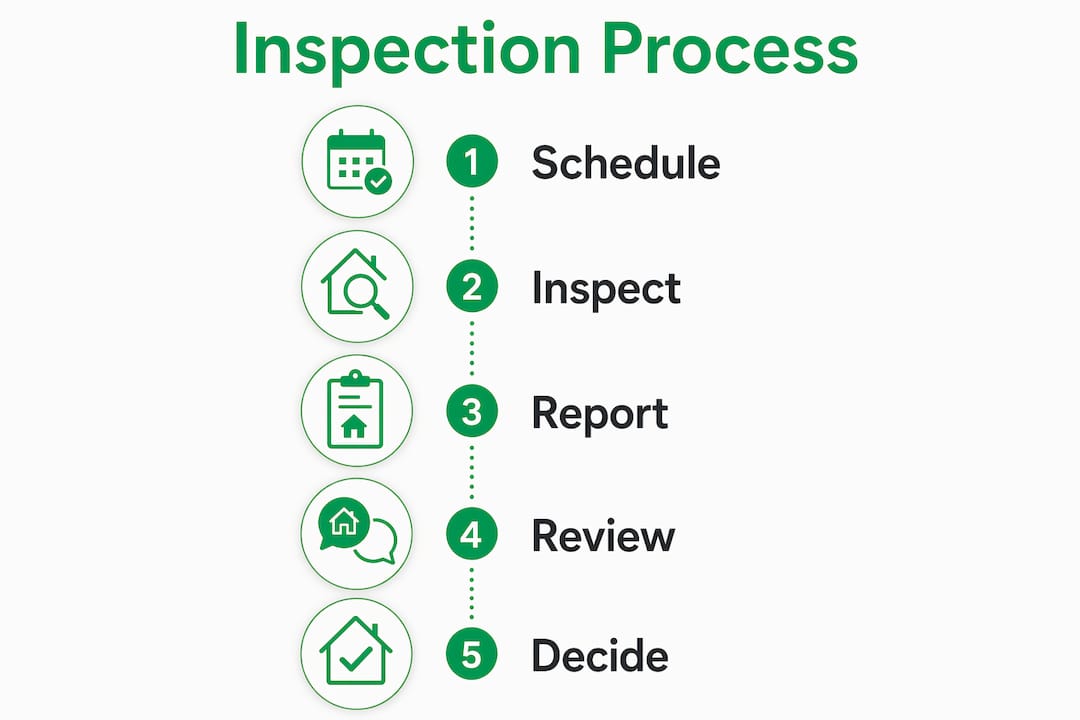
The condo inspection process follows a clear sequence. Knowing each step helps you stay in control of your timeline and your negotiating position.
- Sign the purchase agreement. Your inspection contingency window opens at this point. Schedule the inspection within 7–10 days of signing to preserve your leverage. Waiting longer compresses your ability to negotiate repairs or walk away.
- Book a qualified inspector. Choose an inspector with specific experience in condo units, not just single-family homes. Condo-specific knowledge matters when it comes to identifying ownership boundaries and flagging HOA-related concerns.
- Attend the inspection in person. Buyer presence at the inspection gives you a firsthand understanding of every issue the inspector finds. You can ask questions about what is your responsibility versus the HOA’s, and you see the condition of systems directly rather than reading about them later.
- Request HOA documents simultaneously. While the physical inspection is scheduled, request the reserve study, the last 12 months of HOA meeting minutes, the current budget, and any pending special assessment notices. These documents run parallel to the unit inspection, not after it.
- Receive and review the inspection report. Most professional inspectors deliver a written report within 24 hours. Read it alongside your HOA documents to build a complete picture of the property.
- Use findings to negotiate. Defects identified in the report become negotiation points. You can request repairs, a price reduction, or seller credits before closing.
Pro Tip: Ask your inspector to walk you through the report by phone or video after delivery. A 15-minute call clarifies which findings are urgent, which are routine maintenance, and which belong to the HOA.
Use a step-by-step scheduling guide to map out your inspection timeline against your contract contingency dates so nothing slips through.
Why reviewing HOA documents is essential alongside the unit inspection
A clean unit inspection does not guarantee a sound investment. HOA financial health and maintenance records can reveal latent risks that cost far more than any defect found inside the unit. This is the part of the condo inspection process that most buyers skip, and it is where the biggest financial surprises hide.
A reserve study is a professional assessment of the building’s major shared systems, including the roof, elevators, parking structure, and plumbing risers. It projects when those systems will need replacement and whether the HOA has enough money saved to cover those costs. Buyers who skip the reserve study risk facing massive special assessments if the building’s reserves are underfunded when a major system fails.
The last 12 months of HOA meeting minutes tell you what the board has been discussing. Pending lawsuits, deferred maintenance decisions, and upcoming capital projects all show up in those minutes before they show up in your wallet.
Red flags to watch for in HOA documents:
- Underfunded reserves: If the reserve study shows funding below 70% of projected needs, a special assessment is likely.
- Pending litigation: Any active lawsuit against the HOA or the building creates financial and legal uncertainty for all owners.
- Deferred maintenance patterns: Repeated discussion of the same repair across multiple months of meeting minutes signals neglect.
- Frequent special assessments: A history of special assessments means the HOA regularly fails to budget for predictable expenses.
- High delinquency rates: When many unit owners are behind on dues, the HOA has less cash to operate and maintain the building.
| HOA Document | What It Reveals | Why It Matters |
|---|---|---|
| Reserve study | Funding level for major repairs | Predicts risk of special assessments |
| Meeting minutes (12 months) | Pending issues and board decisions | Surfaces hidden problems early |
| Current budget | Income vs. expenses | Shows financial stability |
| Special assessment history | Past funding gaps | Indicates recurring financial weakness |
Common issues uncovered during condo inspections
Physical defects in condo units follow predictable patterns. Knowing what inspectors find most often helps you set realistic expectations for what to expect in a condo inspection.
Water intrusion is the most common finding. Stains on ceilings or walls near exterior windows or above-unit plumbing indicate past or active leaks. The source may be your unit, the unit above, or a shared building system. Identifying the source determines who pays for the fix.
Electrical deficiencies appear frequently in older buildings. Missing GFCI protection in bathrooms and kitchens, double-tapped breakers, and outdated wiring are all common. These are unit-level issues the buyer is responsible for correcting.
HVAC wear is another consistent finding, especially in units where the system has not been serviced in years. Dirty filters, corroded coils, and aging equipment all reduce efficiency and signal near-term replacement costs.
Issues specific to condo units include:
- Balcony railing stability: Loose or corroded railings are a safety hazard and a unit-owner responsibility in most declarations.
- Window seal failures: Fogged or condensation-filled double-pane windows indicate failed seals, reducing insulation and requiring replacement.
- Appliance condition: Older appliances included in the sale may be functional but near the end of their useful life.
Pro Tip: When the inspector flags a defect, ask directly: “Is this my responsibility or the HOA’s?” The answer shapes whether you negotiate with the seller or raise the issue with the association before closing.
Knowing the right questions to ask your inspector during the walkthrough separates buyers who get clarity from those who leave confused.
Key Takeaways
A thorough condo purchase requires both a professional unit inspection and a careful review of HOA documents, because neither alone gives you the full picture of what you are buying.
| Point | Details |
|---|---|
| Inspection scope is limited by ownership | Inspectors assess only the interior unit; shared systems belong to the HOA. |
| Schedule within 7–10 days of contract | Early scheduling preserves negotiation leverage during the contingency period. |
| Attend the inspection in person | Firsthand presence helps you understand findings and clarify responsibility lines. |
| HOA documents reveal financial risk | Reserve studies and meeting minutes expose risks the unit inspection cannot detect. |
| Use findings to negotiate | Inspection defects and HOA red flags both become tools for price or repair negotiation. |
Why I think most condo buyers are only doing half the job
Most buyers treat the condo inspection as a checkbox. They schedule it, receive the report, and move on. What they miss is that the unit inspection answers only one question: what is wrong inside these four walls right now? The HOA documents answer a different and arguably more expensive question: what is coming for the entire building in the next five to ten years?
I have seen buyers walk away from a unit with a clean inspection report, only to face a $15,000 special assessment six months after closing because the building’s roof reserve was nearly empty. The inspector did exactly the right job. The buyer just did not look at the other half of the picture.
Regional differences in condo declarations also complicate things more than most buyers realize. In some states, the ownership boundary runs to the interior surface of the walls. In others, it includes the wall studs. That distinction changes what you own, what you insure, and what you are responsible for repairing. A professional inspector who understands condo-specific nuances will flag these differences and explain their implications.
My honest recommendation: treat the condo inspection process as a two-track investigation. Run the unit inspection and the HOA document review at the same time, not sequentially. If either track reveals serious problems, you have the full picture to make a confident decision. Buyers who do both walk into closing with real knowledge. Buyers who do only one are guessing.
— JOHN
Condo inspections made clear with Jhunthomeinspections
Buying a condo in the St. Louis Metro area or Southern Illinois is a significant investment. Getting the inspection right from the start protects that investment.

Jhunthomeinspections delivers thorough condo unit inspections with detailed reports returned within 24 hours, giving you the information you need before your contingency window closes. The team works with first-time buyers, veterans, and low-income families to make the process clear and manageable. The proprietary Create Request List™ tool organizes findings so you and your agent can act on them immediately. Schedule your condo inspection services today and get the full picture before you close.
FAQ
What is the condo inspection process?
The condo inspection process is a professional evaluation of the interior unit’s physical systems and finishes, combined with a review of HOA documents to assess building-wide financial and maintenance health. Inspectors assess only what the buyer owns, as defined by the condominium declaration.
How long does a condo inspection take?
A typical condo unit inspection takes one to two hours, depending on the size of the unit and the number of systems present. The HOA document review is a separate process that buyers conduct concurrently with the physical inspection.
What does a condo inspection checklist include?
A standard condo inspection checklist covers the electrical panel, plumbing fixtures, in-unit HVAC, included appliances, interior walls and ceilings, windows, doors, and balcony condition. It does not include shared building systems managed by the HOA.
When should I schedule a condo inspection?
Schedule the inspection within 7–10 days of signing the purchase agreement. Acting early keeps you inside the contingency window and preserves your ability to negotiate or withdraw based on findings.
Do I need to review HOA documents in addition to the inspection?
Yes. HOA financial records and meeting minutes reveal risks like underfunded reserves and pending assessments that the unit inspection cannot detect. Both the physical inspection and the HOA review are necessary for a complete picture of the investment.
Recent Comments