
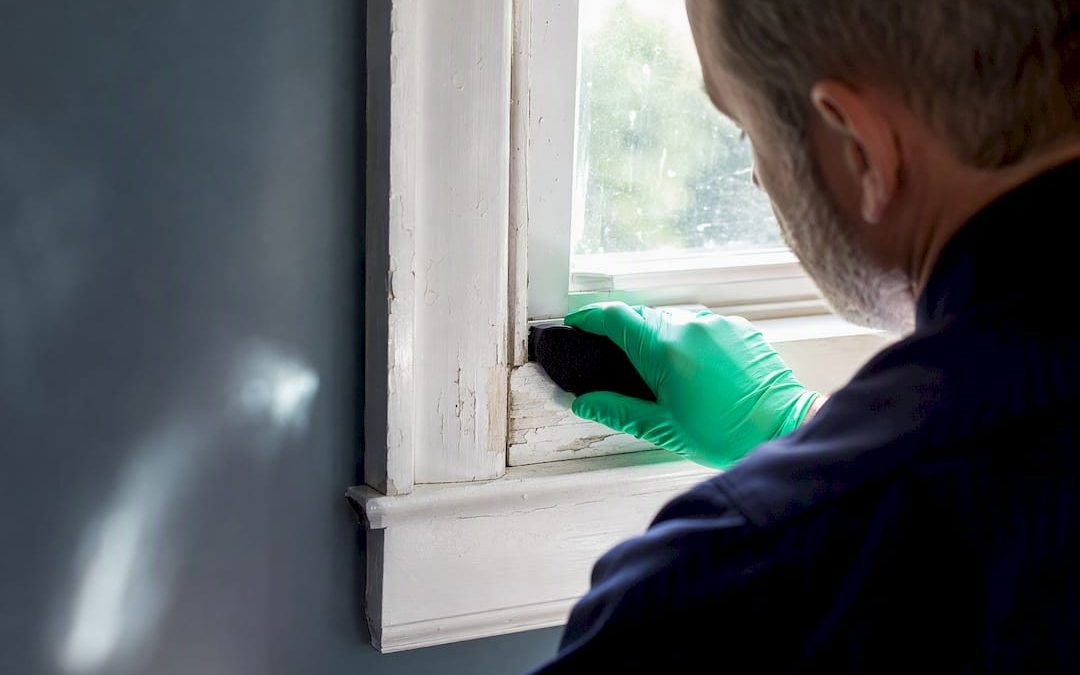
Radon and mold top the priority list for most U.S. homes, with lead close behind in anything built before 1978. If your home draws from a private well, water testing belongs at the same level of urgency. Add indoor air quality monitoring if anyone in the house has unexplained allergy or respiratory symptoms. DIY kits and monitors are fine for a first screen, but if results feed a real estate transaction or a remediation decision, you need lab-analyzed samples or a certified professional behind the report.
TL;DR:
- Radon testing should be done if levels are at or above 4 pCi/L, with long-term monitors providing the most accurate seasonal readings.
- Lead testing in paint and dust is critical for homes built before 1978, especially before renovations or if deterioration is visible.
- Water testing for private wells must be conducted annually and after flooding or plumbing work to detect bacteria, nitrates, or heavy metals.
- DIY air quality monitors are useful for trend spotting but require calibration and follow-up professional testing for definitive results.
- Always request lab analysis and clearance testing after mold, lead, or asbestos remediation to verify hazards are fully resolved before occupancy or sale.
Table of Contents
- What Does Environmental Home Testing Actually Cover?
- When Should You Test Your Home for Environmental Hazards?
- DIY Kits and Monitors vs. Professional Testing: Which Do You Need?
- Hazard-by-Hazard: What Each Test Actually Involves
- What to Expect: Process, Cost, and Timelines
- How to Act on Your Test Results
- Testing for Asbestos in Older Homes
- Testing for Carbon Monoxide: When and How
- How Hunt Home Inspection Puts Environmental Testing to Work
- Book Your Environmental Testing With Hunt Home Inspection
- Where to Verify Environmental Testing Guidance
- Sources
- FAQ
What Does Environmental Home Testing Actually Cover?
Environmental home testing is the umbrella term for checking a property for airborne, waterborne, and surface-level hazards that ordinary walkthroughs miss. It spans everything from a $15 radon kit to a full instrument survey by a Certified Industrial Hygienist.
The main categories break down like this:
- Radon: an odorless gas measured with charcoal canisters, electret detectors, or continuous digital monitors.
- Mold: assessed through visual inspection first, then air or surface sampling when moisture damage is present.
- Lead: tested in paint (XRF or chip samples), settled dust (wipe samples), and drinking water (first-draw tap samples).
- Indoor air quality: PM2.5, VOCs, CO2, and carbon monoxide, tracked with sensor-based monitors or lab-grade instruments.
- Water contaminants: bacteria, nitrates, and heavy metals beyond lead, typically run through a state-certified lab panel.
- Asbestos: found in older insulation, flooring, and popcorn ceilings, confirmed only through lab analysis of a physical sample.
Not every result carries the same weight at closing. Lenders, agents, and attorneys generally want lab-analyzed results or a certified inspector’s report, not a phone app reading or a home test strip. A comprehensive environmental hazard inspection usually folds several of these checks into one visit, which saves buyers from scheduling five separate appointments during a tight escrow window.
When Should You Test Your Home for Environmental Hazards?
Timing matters as much as the test itself. Here’s how to prioritize based on your situation:
- Buying a home under contract: order radon and, in pre-1978 homes, lead testing during your inspection period, before the contingency deadline.
- Visible moisture, staining, or a musty smell: mold testing takes priority, usually starting with a moisture map before any sampling.
- Ongoing headaches, allergy flares, or respiratory irritation with no clear cause: indoor air quality monitoring should move to the top of the list.
- Homes built before 1978: test for lead in paint and dust before any renovation, sanding, or demolition work begins.
- Private well ownership: test water annually at minimum, and immediately after any flooding, plumbing work, or taste and odor changes.
- Basement living space or a home in a known high-radon county: test now, rather than waiting for a sale.
The EPA treats radon testing as a critical public health step, and many state and county health departments distribute discounted or free radon test kits through local programs. A quick way to sort out where you stand before booking anyone is running through a self-guided pre-inspection checklist.
DIY Kits and Monitors vs. Professional Testing: Which Do You Need?
A drugstore radon kit or a plug-in air quality monitor will tell you something useful. It will not settle a dispute in escrow, and it will not tell you where a leak originates.
What consumer-grade tools do well:
- Flag pollutant spikes and general trends over days or weeks
- Give you a cheap first read before deciding whether to spend more
- Help you decide if a room needs ventilation changes or a deeper look
Where they fall short:
- The EPA is explicit that low-cost monitors don’t provide a complete picture of indoor air quality since placement, calibration, and sensor type all affect accuracy.
- Many consumer sensors need real time to settle. Airthings notes VOC and CO2 sensors need roughly a week to calibrate, while radon sensors can take up to 30 days to stabilize.
- A single spike from cooking or cleaning products can look alarming on a cheap monitor without meaning much long term.
Professional testing brings accredited lab analysis, calibrated instruments, and a written report a lender or attorney will actually accept. For complicated cases, involving multiple pollutant sources or a vapor intrusion concern, a Certified Industrial Hygienist builds a site-specific testing plan rather than relying on a single device reading.
Pro Tip: If a cheap monitor shows a spike, don’t panic and don’t ignore it either. Run it for a full week before drawing conclusions, then decide if the pattern justifies a professional follow-up.
Hazard-by-Hazard: What Each Test Actually Involves
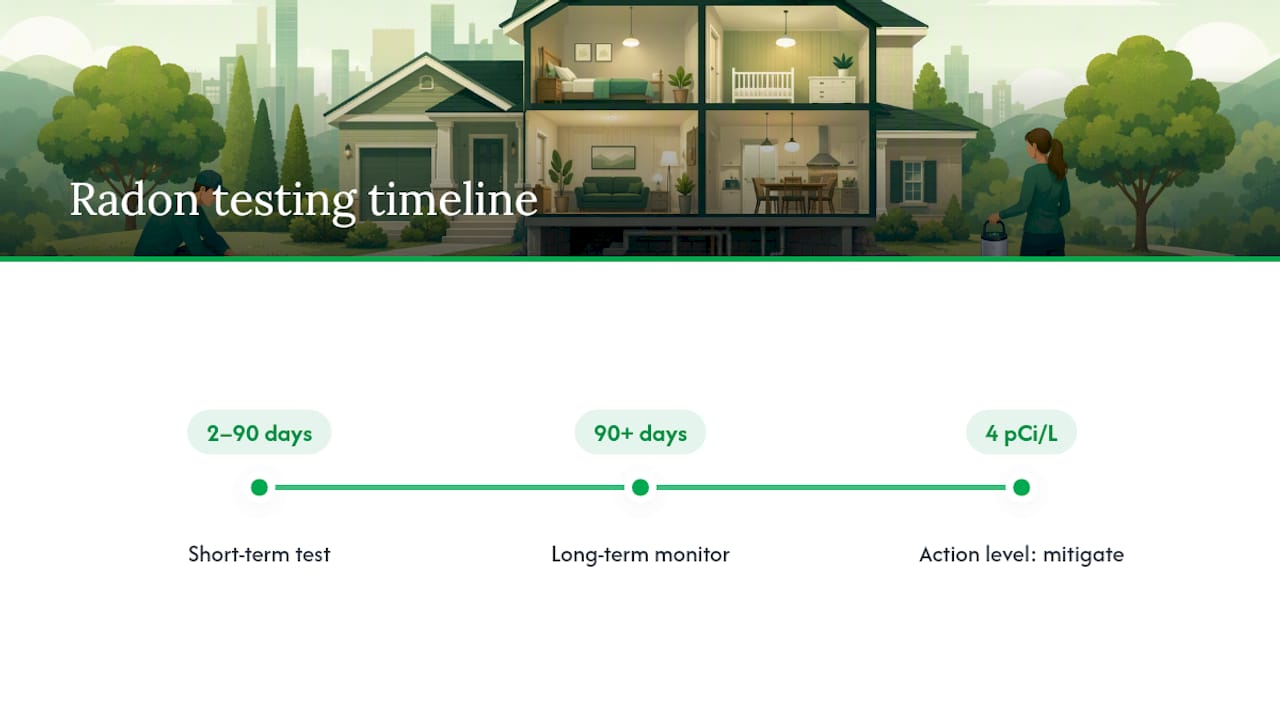
Radon. Short-term tests (2 to 90 days) give a quick snapshot; long-term monitors (90 days or more) capture seasonal swings that short tests miss entirely. The EPA’s action level sits at 4 pCi/L, and levels at or above that call for mitigation. Place detectors in the lowest livable level, away from drafts, exterior walls, and windows.
Mold and moisture. Start with a visual inspection and moisture mapping using a moisture meter, not a swab. Air or surface sampling earns its cost when mold is hidden behind walls or when a post-remediation clearance test is needed to prove the job worked. A practical mold inspection guide walks through when sampling adds value versus when a visual call is enough, and crawl spaces deserve particular attention since hidden mold under the house is one of the most commonly missed issues before closing.
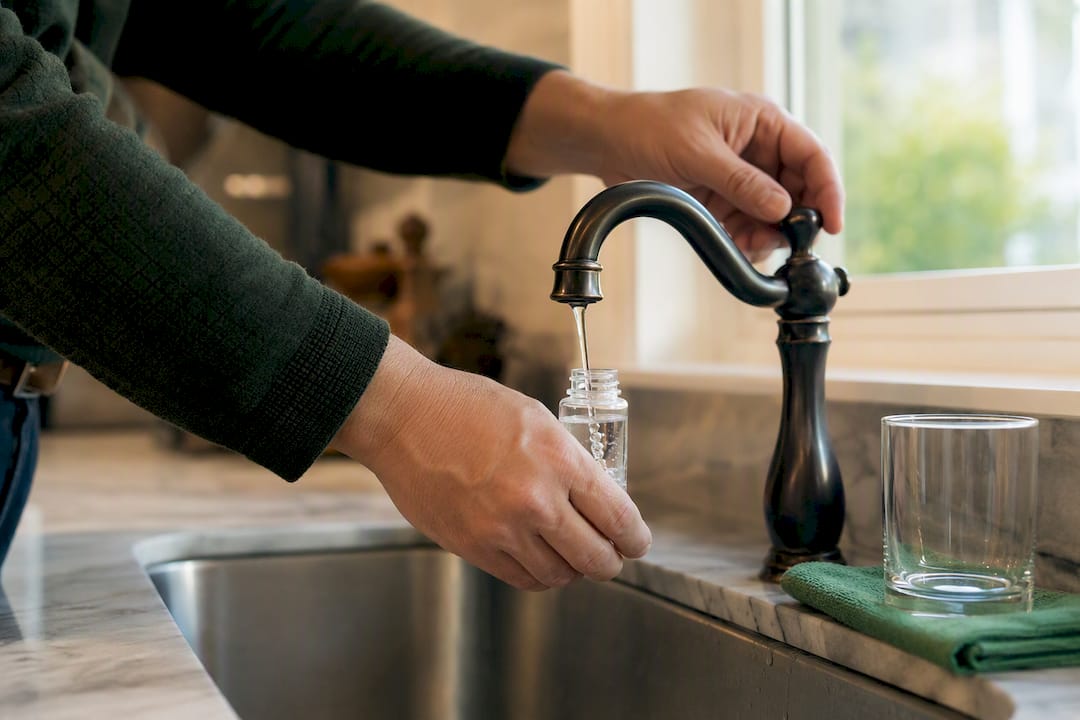
Lead. Paint testing (XRF guns or lab-analyzed chip samples) confirms lead-based paint. Dust wipe sampling matters because deteriorating lead paint sheds dust long before anyone notices peeling. For water, first-draw tap sampling is the defensible protocol for catching lead leached from old solder or fixtures, since it captures water that sat still in the pipes overnight. Hire a certified lead risk assessor before any renovation in a pre-1978 home.
Indoor air. PM2.5 sensors track fine particulates from smoke, dust, or combustion. VOC sensors pick up off-gassing from paint, furniture, and cleaning products. CO2 tracks ventilation adequacy. None of these substitute for professional industrial hygiene testing when symptoms persist despite a clean-looking monitor reading.
Water. Private well owners need a full panel covering bacteria, nitrates, and lead at minimum, plus anything specific to local geology. Sample timing matters: first-draw catches plumbing-related contamination, while a flushed sample after running the tap reflects the source water itself.
What to Expect: Process, Cost, and Timelines
Testing generally follows a predictable sequence:
- Initial screening to identify which hazards are plausible given the home’s age, location, and symptoms.
- Test selection based on that screening (radon, mold, lead, water, or a combination).
- Sample collection, either DIY or by a professional technician.
- Lab analysis for anything requiring chemical or microbial identification.
- Interpretive report explaining what the numbers mean and what to do next.
Quick kits return results in days. Lab-analyzed samples for mold, lead, or water typically take several days to two weeks depending on the lab’s backlog. Long-term radon monitors need 90 days or more to capture a reliable seasonal average. Costs scale with the number of samples, lab accreditation fees, technician travel, and complexity. A straightforward single-family radon test costs far less than a multi-zone air quality survey chasing a vapor intrusion source.
How to Act on Your Test Results
A number on a report only matters once you know what it triggers. Radon at or above the EPA’s 4 pCi/L action level calls for mitigation, usually a sub-slab depressurization system. Confirmed lead hazards in paint, dust, or water usually require abatement or interim controls before children or pregnant occupants stay in the space. Mold growth tied to an active moisture source needs both remediation and a fix for whatever is causing the moisture, or the mold comes right back.
- Request clearance testing after any mold remediation to confirm spore counts returned to normal, not just that visible growth is gone.
- Keep lab reports, remediation invoices, and clearance certificates together as one file if you’re selling.
- Buyers in escrow should specifically ask for post-remediation clearance documentation, not just a contractor’s word that the work is done.
Pro Tip: A remediation invoice without a clearance test tells you money was spent, not that the problem is gone. Always ask for both.
Testing for Asbestos in Older Homes
Homes built before 1980 are the ones to worry about, since asbestos shows up in popcorn ceilings, vinyl floor tiles, pipe insulation, and old siding material well into that era. The material itself isn’t dangerous sitting still. The danger starts when it’s disturbed, sanded, cut, or crumbled during a renovation, releasing fibers that can lodge in lung tissue for decades before causing harm.
You cannot identify asbestos by looking at it. Confirmation requires collecting a small sample and sending it to an accredited lab for polarized light microscopy analysis. Guessing based on the material’s age or appearance is how people end up disturbing it unknowingly during a DIY project.
If your home falls in the pre-1980 range and you’re planning any renovation involving drywall, flooring, insulation, or old siding, test before demolition starts, not after. Once fibers are airborne, containment and cleanup costs multiply fast, and you may need to vacate the area entirely during abatement.
Buyers should treat suspected asbestos the same way they’d treat a suspected lead hazard: as a line item to negotiate before closing, not a surprise to discover after moving in. If a seller’s disclosure mentions asbestos abatement, ask for the lab report and the contractor’s clearance documentation, the same paper trail you’d want for mold or lead work.
Testing for Carbon Monoxide: When and How
Carbon monoxide is invisible, odorless, and fast-acting, which is exactly why testing here means something different from the sampling used for radon or mold. You’re not sending anything to a lab. You’re relying on properly placed, properly maintained detectors doing continuous real-time monitoring.
Every home needs a carbon monoxide detector on each level, especially near sleeping areas, and particularly if the house has a fuel-burning furnace, water heater, fireplace, or an attached garage. Detectors should be tested monthly using the built-in test button, and battery-powered units need fresh batteries at least once a year. Most detectors themselves have a usable lifespan of five to seven years before the sensor degrades and needs replacement, not just the battery.
Test for elevated carbon monoxide risk any time you notice unexplained headaches, dizziness, or fatigue that improves when you leave the house, since those are classic exposure symptoms. Also test after installing a new furnace, water heater, or generator, and after any chimney or venting work. A qualified technician can run a combustion analysis on fuel-burning appliances to check for improper venting or incomplete combustion, which is the actual source of most in-home carbon monoxide problems, not a mystery leak from nowhere.
Unlike a mold or lead problem, carbon monoxide exposure can kill within hours at high concentrations, so this is the one hazard where a working detector matters more than any lab test you could order after the fact.
How Hunt Home Inspection Puts Environmental Testing to Work
Some home inspection companies fold radon, mold, and water testing into the same visit, with video options and reports back within 24 hours. Tools that simplify negotiations for buyers can be helpful, and some services offer particular attention to first-time buyers, veterans, and low-income families navigating this process for the first time. If you’re weighing which tests your situation actually needs, reach out for a local, bundled option.
— JOHN
Book Your Environmental Testing With Hunt Home Inspection
Ordering radon, mold, lead, or water testing separately from five different vendors eats time you don’t have during a real estate transaction. Hunt Home Inspection bundles environmental testing directly into the inspection services buyers, sellers, and investors in the St. Louis Metro area and Southern Illinois already rely on, with reports returned within 24 hours instead of the week-long wait common with separate lab vendors. Scheduling works around you, too, with video inspection options available if you can’t attend in person.
First-time buyers and veterans get particular attention throughout the process, and pay-at-close options are available for those who need to align payment with their closing timeline. If you’re heading into escrow or planning a renovation in an older home, get a bundled radon, mold, lead, or water test scheduled now, before your inspection contingency window closes.
Where to Verify Environmental Testing Guidance
The EPA’s radon testing guidance and its page on low-cost air quality monitors are the most reliable federal starting points. Airthings’ testing guide explains sensor calibration in plain language, and the HomeASyst assessment workbook from MSU Extension helps you prioritize risks room by room. Check with your local health department, too. Many run radon test kit programs at little or no cost.
Sources
- EPA highlights home radon testing as a vital step to prevent lung cancer
- How to test indoor air quality in your home | Airthings
- HomeASyst residential assessment guide | MSU Extension
FAQ
Can You Test Your House for Toxins?
Yes. Radon, lead, mold, asbestos, and water contaminants can all be tested using a combination of consumer kits for initial screening and accredited lab analysis or professional inspection for defensible, actionable results.
Is There a Way to Test if There’s Mold in Your House?
A visual inspection paired with moisture mapping catches most mold problems, and air or surface sampling confirms hidden growth behind walls or in crawl spaces when visible signs alone aren’t enough.
Does the CDC Recommend Mold Testing?
Public health guidance generally emphasizes fixing the moisture source over routine mold sampling, since visible mold growth typically calls for remediation regardless of the specific species present.
What Does an Environmental Home Inspection Consist Of?
A typical environmental home inspection covers radon, mold assessment, lead testing in older homes, and often water quality checks, combined into one visit with a written report covering findings and next steps.
How Often Should I Retest My Home for Radon?
Retest every two years, or immediately after any major renovation, foundation work, or HVAC change, since radon levels shift with structural changes and seasonal ventilation patterns.
Recent Comments