
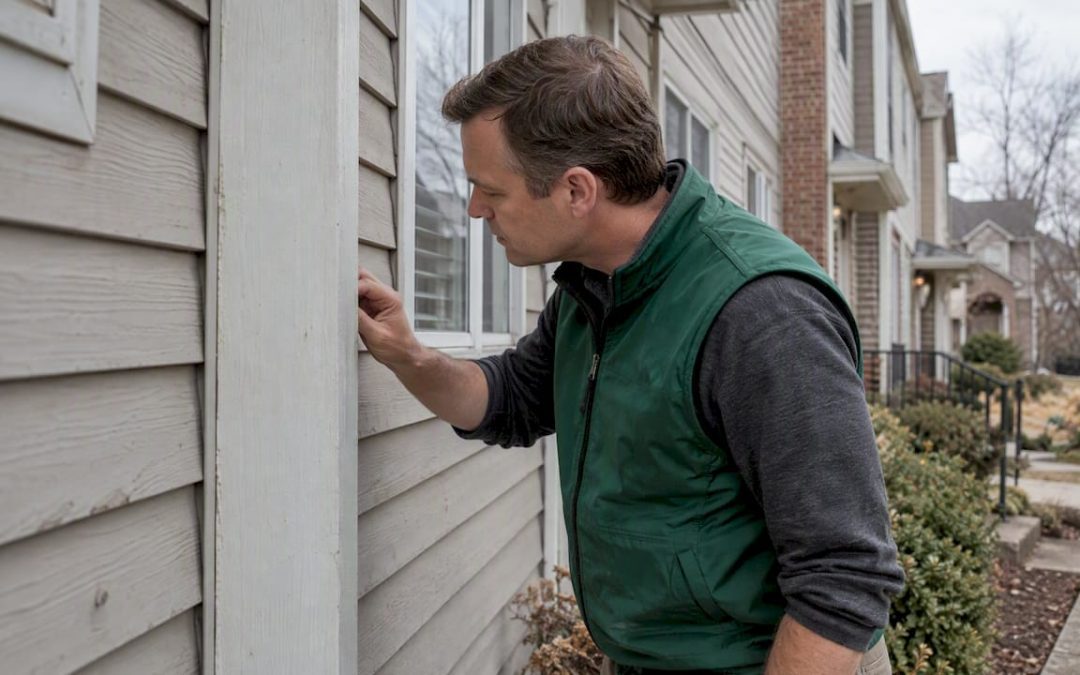
A townhouse inspection covers everything a house inspection does, plus one question a detached home never raises: where does your unit end and the building begin? Use the checklist below to walk the unit, the shared components and the paperwork before your inspection contingency runs out. Everything here applies to a townhome or a condo with similar shared structure.
TL;DR
- Start with ownership: your inspector can only report on what you own, so get the HOA documents and know which roof, walls and siding are yours.
- Inside the unit, check water, electrical, HVAC, windows, doors and the wall you share with neighbors, just as you would in a house.
- A good unit in a neglected complex can still cost you through special assessments or insurance trouble, so look at the whole building.
- Test for radon in every purchase. The EPA’s action level is 4 pCi/L.
- Attend the inspection, and keep your contingency in the contract.
Table of Contents
- How a townhouse inspection differs from a house inspection
- Before the inspection: paperwork and questions
- The townhouse inspection checklist
- Condo and townhouse: what changes with shared ownership
- Radon and other tests worth adding
- Red flags that deserve a second look
- Our perspective: what we see in townhome inspections
- Protect yourself with the contingency
- Book a townhouse inspection with Hunt Home Inspection
- FAQ
- Sources
How a townhouse inspection differs from a house inspection
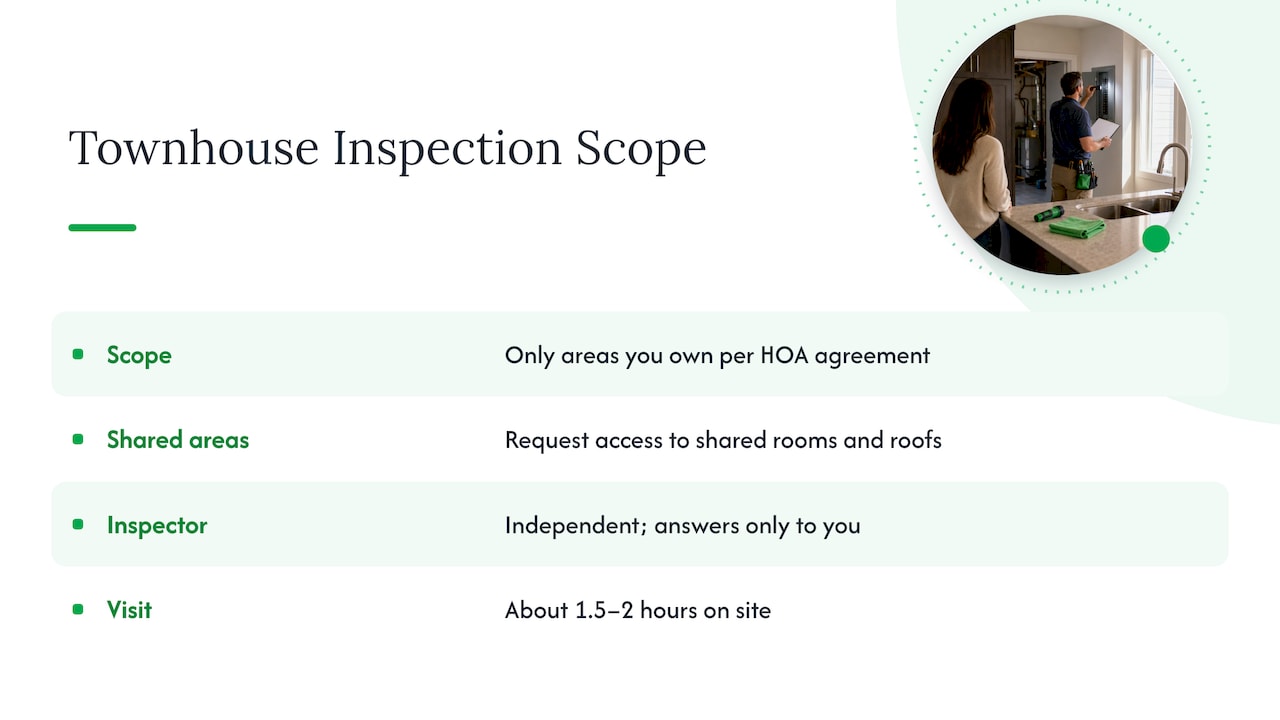
Most inspection guides are written for detached single-family homes. With a townhouse, the scope changes because of ownership boundaries. Townhomes often share roofs, structural walls and exterior cladding with neighbors, and inspectors check only what you own, as defined by your HOA agreement. If you want shared mechanical rooms or common roof areas looked at, you may need to ask for access, because they can otherwise be left out of a unit-specific report.
The inspection itself is also a fact-finding report, not a pass or fail grade. The CFPB notes that you should hire an independent inspector who answers only to you. An inspector paid by someone else, or paid only if the sale closes, has a reason to soften findings that you need to hear.
For timing, one Canadian inspectors’ association puts a typical townhouse visit at roughly 1.5 to 2 hours on site, before the written report. Expect similar for a standard unit in Missouri or Illinois, longer with add-on tests or a large end unit.
Before the inspection: paperwork and questions
The best townhouse checks start at a desk, not in the basement. Ask your agent or the seller for these before you book:
- HOA or condo declaration and bylaws. They spell out who maintains the roof, siding, fences, driveways and shared utilities.
- Recent HOA meeting minutes and the budget. Look for planned roof replacements, paving, siding projects or disputes.
- Reserve fund information. A thin reserve with big upcoming repairs is how special assessments happen.
- Insurance requirements. Find out what the master policy covers and what your own policy must cover.
- Seller disclosures. The CFPB suggests asking directly about past disasters such as flooding and how they were repaired, because improper past repairs often cause repeat damage. Past claims can also make new homeowner’s insurance costlier or harder to get.
If you want a ready list of things to put to your inspector, our questions to ask a home inspector guide covers the first-time buyer basics.
The townhouse inspection checklist
Work through the sections in this order. Print it or keep it on your phone during the walkthrough.
Exterior and shared structure
- Roof surface and flashing. Look for missing, curling or patched shingles. Ask whether the roof is yours or the association’s, and how old it is.
- Where the roof meets neighboring units. Flashing at these joints is a classic leak point.
- Gutters and downspouts. Check that water leaves the building and does not dump beside a shared foundation.
- Siding, brick and trim. Cracks, gaps, rot, stained mortar and mismatched repairs. Siding is often a shared cost.
- Foundation. Note stair-step cracks, uneven floors inside and doors that stick. Ask whether movement has been monitored.
- Grading and drainage. Soil should slope away from the building. Standing water near the foundation is a flag.
- Decks, balconies and stairs. Check who owns and maintains them, and look at railings, fasteners and rot.
- Driveway, walkways and parking. Cracks and heaving matter, but so does knowing whether the HOA pays for them.
Walls shared with neighbors
- Noise. Stand quietly in each room on the shared wall. Ask the inspector to note what you can hear.
- Stains and damp spots on shared walls and ceilings, which can point to a neighbor’s plumbing or a roof leak.
- Visible cracks, patched drywall or fresh paint in isolated spots. Ask what is behind it.
- Garage-to-living-space walls and doors, where present. Gaps and missing self-closing hardware are worth noting.
- Attic spaces. In many rows the attic runs across several units. Ask whether the inspector can see the shared section and what separates the units. Our attic insulation inspection guide shows what is safe to check yourself.
Plumbing
- Run every faucet and flush every toilet. Check pressure with two fixtures running at once.
- Look under sinks and around the water heater for corrosion, drips and stains.
- Note the age and location of the water heater and ask about its capacity.
- Identify the pipe materials you can see, and ask the inspector about anything old or mixed.
- Ask where the main shutoff is. In some complexes it is outside your unit.
- Ask whether sewer or water lines are shared with other units and who is responsible for them. A sewer camera lateral inspection can show what is going on in a line you cannot see.
Electrical
- Open the panel. Look for scorch marks, rust, double-tapped breakers, missing labels and an overcrowded box.
- Test outlets, especially near sinks, in garages and outdoors. Ask about GFCI protection in kitchens, baths and wet areas.
- Flip light switches in every room and note flickering.
- Check smoke and carbon monoxide alarms on each level.
Heating, cooling and ventilation
- Find the age on the furnace and air conditioner labels, and ask for service records.
- Run both heat and cooling during the visit.
- Check filters, visible ductwork and condensate drains.
- Confirm that bathroom fans and the range hood actually vent outside.
- Ask whether the HVAC is yours alone or tied to a shared system.
Interior, windows and doors
- Open and close every window and door. Look for sticking, drafts, failed seals and misaligned frames.
- Check floors for slope, soft spots and water damage, especially near tubs and exterior doors.
- Look at ceilings for rings and stains, and note any musty smell.
- Inspect stairs, handrails and the fireplace, if there is one.
- Test built-in appliances and note their ages.
Basement, crawl space and slab
- Look for efflorescence, water lines on walls, dehumidifier use and stored items stacked away from walls, which can hide problems.
- Check sump pumps, if any, and ask whether they have ever run.
- Look at visible framing for moisture and pests. A separate wood-destroying organism inspection is worth considering where the lender or contract calls for it.
- If you spot suspected growth, read our guide to what a mold inspection is before you decide on testing.
Condo and townhouse: what changes with shared ownership
A complex is a package. Industry experts note that your own unit can be in good condition while a neglected roof or siding elsewhere leads to special assessments or insurance difficulties. So treat your checklist as a supplement to due diligence on the complex, not a replacement.
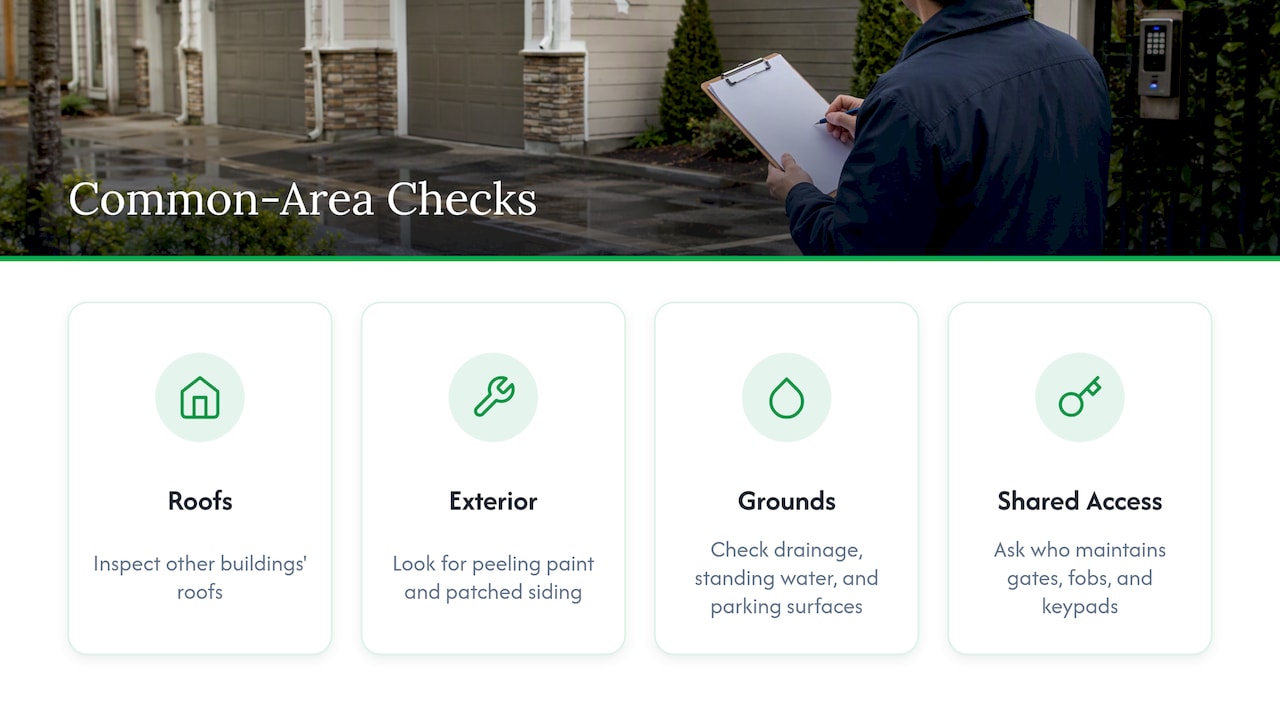
Walk the common areas on the day. Look at the condition of other buildings’ roofs, peeling paint, patched siding, standing water, drainage and parking surfaces. If the complex has gates, fobs or keypads at shared entrances, ask who maintains them and how often. Maintenance routines for such systems are a good indicator of how well a property is managed, and this guide to access control maintenance shows what regular servicing looks like, though it is written for UK rules.
If you are comparing a condo, the same logic applies with more shared systems: hallways, elevators, shared boilers and the building envelope. Ask the same budget and reserve questions, and request access to shared mechanical rooms.
Radon and other tests worth adding
Some problems are invisible on a visual walkthrough. Radon is the one we recommend most often. The EPA says radon should be tested in all home transactions, and that you should act to reduce levels at 4 pCi/L or higher, regardless of home type. Levels below 4 still carry some risk, and the EPA suggests considering mitigation between 2 and 4 pCi/L. Radon moves up from the ground, so lower-level units in a townhouse row are worth testing as much as any house. Our radon in the home and environmental home testing pages explain what the numbers mean.
Other add-ons depend on the unit:
| Test | When it makes sense |
|---|---|
| Radon | Every purchase, especially with a basement or ground-level living space |
| Sewer camera | Older units, mature trees, or any shared lateral |
| Mold | Musty odors, past leaks or visible staining |
| Wood-destroying organisms | Wood-to-soil contact, basements, or lender requirement |
| Lead or asbestos | Older construction or planned renovations |
| Septic or well | Rural or edge-of-metro properties that are not on public systems |
Red flags that deserve a second look
- Active moisture on a shared wall or ceiling.
- A roof near the end of its life with no HOA plan or reserve to replace it.
- Minutes that mention litigation, deferred maintenance or repeated special assessments.
- DIY electrical or plumbing work you cannot get permits for.
- Foundation cracks that are wide, growing or paired with sticking doors.
- A seller who will not discuss past water damage or insurance claims.
Not every flag is a deal-breaker, but each one is a reason to ask for a specialist’s opinion or a repair credit. Our home inspection red flags list helps you separate major defects from routine maintenance.
Our perspective: what we see in townhome inspections
We inspect homes across the St. Louis Metro area and Southern Illinois, and the townhouse question we hear most is, “Is this my problem or the HOA’s?” The inspection report can tell you what is wrong. The association documents tell you who pays. Buyers who read both before the contingency deadline tend to make calmer decisions.
We also see buyers treat a clean-looking unit as a clean building. A fresh coat of paint inside tells you little about the roof you share. Ask the questions in this guide, and if something is outside your unit, ask the inspector how to document it so your agent can raise it with the seller or the association.
Finally, please come to the inspection. The CFPB says being there lets you ask questions and understand the difference between maintenance items and major defects. If you cannot be on site, we offer video walkthroughs, and we return reports within 24 hours so you have time to negotiate.
— JOHN
Protect yourself with the contingency
The CFPB advises making your offer contingent on a satisfactory inspection. If serious flaws turn up, you can negotiate repairs or credits, or walk away under the terms of your contract. Contract wording and deadlines vary, so confirm yours with your agent or a real estate attorney in Missouri or Illinois. Waiving it can leave you owning problems you never saw, which we explain in why waiving an inspection contingency is risky and in our guide to the buyer inspection contingency.
Book a townhouse inspection with Hunt Home Inspection
We offer buyer’s inspections for townhomes, condos and single-family homes, plus radon testing, sewer camera, mold and termite inspections as add-ons. We schedule evenings and weekends, offer in-person or video walkthroughs, and discount services for veterans and first-time buyers. See the full list of inspection services or get in touch through our site to schedule.
FAQ
Can I use a home inspection checklist instead of hiring an inspector?
A checklist helps you notice things and ask better questions, but it does not replace a trained inspector who can reach and evaluate roofs, panels, crawl spaces and systems. Use it to prepare, then see our DIY pre-inspection checklist for what you can safely check on your own.
Does a townhouse inspection cost more than a house inspection?
It depends on size, age and the add-on tests you choose. We do not publish fixed prices, so contact us with the address and what you want tested, and we will tell you what to expect.
Will the inspector check the roof if the HOA owns it?
Often they can still look at it and report visible condition, but inspectors focus on what you own under your HOA agreement. Ask in advance for access to shared roof areas and mechanical rooms, and ask the HOA for its maintenance records.
Is a condo inspection different from a townhouse inspection?
The unit-level checks are much the same. A condo adds more shared systems such as hallways, elevators and building mechanicals, so the association’s budget, reserves and insurance matter even more.
Should I be at the inspection?
Yes. Being there lets you see problems first-hand and ask questions as the inspector works. If you cannot, a video walkthrough is the next best option.
Sources
- Schedule a home inspection, Consumer Financial Protection Bureau
- Find the right home, Consumer Financial Protection Bureau
- What questions should I ask about flood and disaster risk when buying a house?, CFPB
- Home Buyer’s and Seller’s Guide to Radon, U.S. EPA
- Condo and Townhouse Inspection Checklist, First Home Start Guide
- FAQs and Tips, Home Inspectors Association BC
Recent Comments