
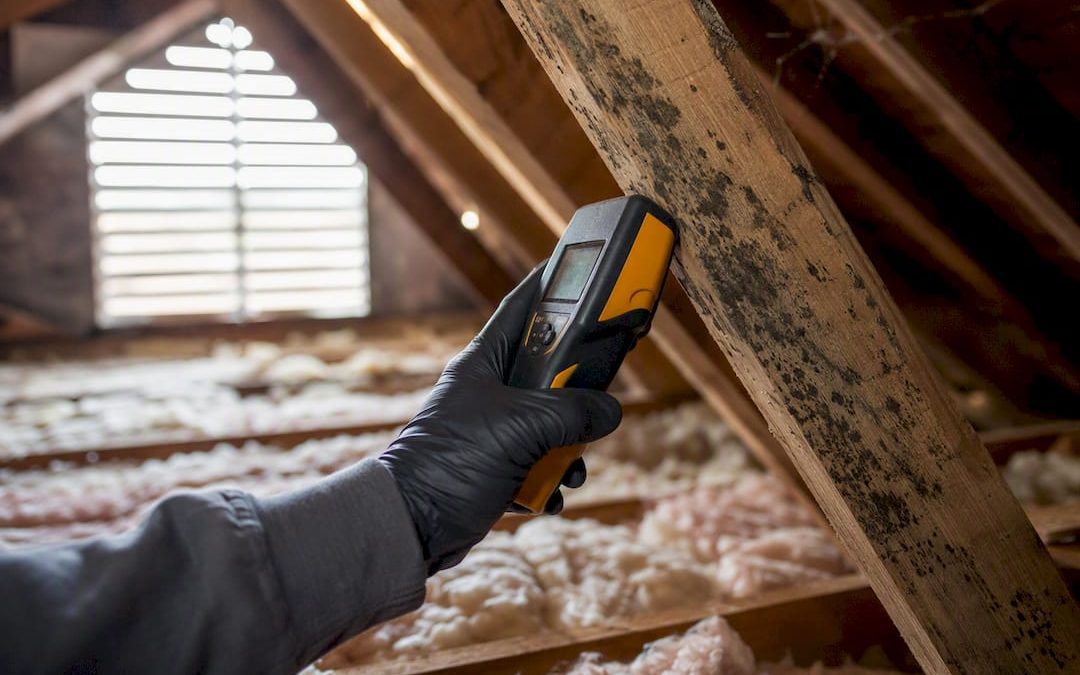
Small patches of mold in attic spaces, under about 10 square feet, are usually within reach for a homeowner willing to wear a respirator and follow the right steps. Anything larger, or any growth on soft, water-damaged sheathing, calls for a professional. Either way, the first move isn’t cleaning. It’s finding and stopping whatever is feeding moisture into that space, because scrubbing mold without fixing the source just buys you a repeat visit in six months.
Before you touch anything:
- Do not disturb large or heavily stained patches. That releases spores into the air you’re breathing.
- Take photos now, from a few angles, with a tape measure in frame for scale.
- Move stored boxes, holiday decorations, and fabric away from the affected area.
- If anyone in the house has asthma, allergies, or a compromised immune system, keep them out of the attic entirely until the area is assessed.
Key Takeaways
Fixing the moisture source before cleaning mold is the difference between a permanent fix and a repeat problem six months later.
| Point | Details |
|---|---|
| Know the size threshold | Patches under about 10 square feet are often DIY-manageable; larger areas need a professional. |
| Fix moisture before cleaning | Cleanup without correcting the ventilation or leak source almost always leads to regrowth. |
| Inspect beyond the hatch | Check eaves, north-facing slopes, and areas above bathrooms where hidden growth usually starts. |
| Balance ventilation properly | Pair soffit intake with ridge vents rather than mixing in gable vents, which can short-circuit airflow. |
| Get a diagnosis first | Jhunthomeinspections’ in-person or video inspections identify the actual moisture driver within 24 hours. |
Table of Contents
- What Causes Mold in an Attic?
- How Do You Inspect an Attic for Mold Safely?
- How Do You Clean Mold in an Attic Yourself?
- When Should You Call a Professional for Attic Mold?
- How Do You Prevent Mold From Coming Back in the Attic?
- Get a Professional Attic Mold Inspection Before You Decide
- Frequently Asked Questions
- Sources
What Causes Mold in an Attic?
Attic mold almost always traces back to one thing: moisture that has nowhere to go. Warm, humid air rises from the living space below, hits cold roof sheathing, and condenses. Add in poor airflow and you’ve built a mold incubator.
The usual suspects:
- Ventilation imbalance. Building codes generally call for 1 square foot of net free vent area per 150 square feet of attic floor, or 1:300 if you have a vapor barrier. Fall short of that and moisture has no exit.
- Bathroom and dryer exhausts terminating in the attic instead of outside. This is a shockingly common shortcut in older homes and it dumps gallons of humid air into the space every week.
- Air leaks from below, especially around recessed lighting, the attic hatch, and plumbing chases, letting conditioned indoor air migrate upward.
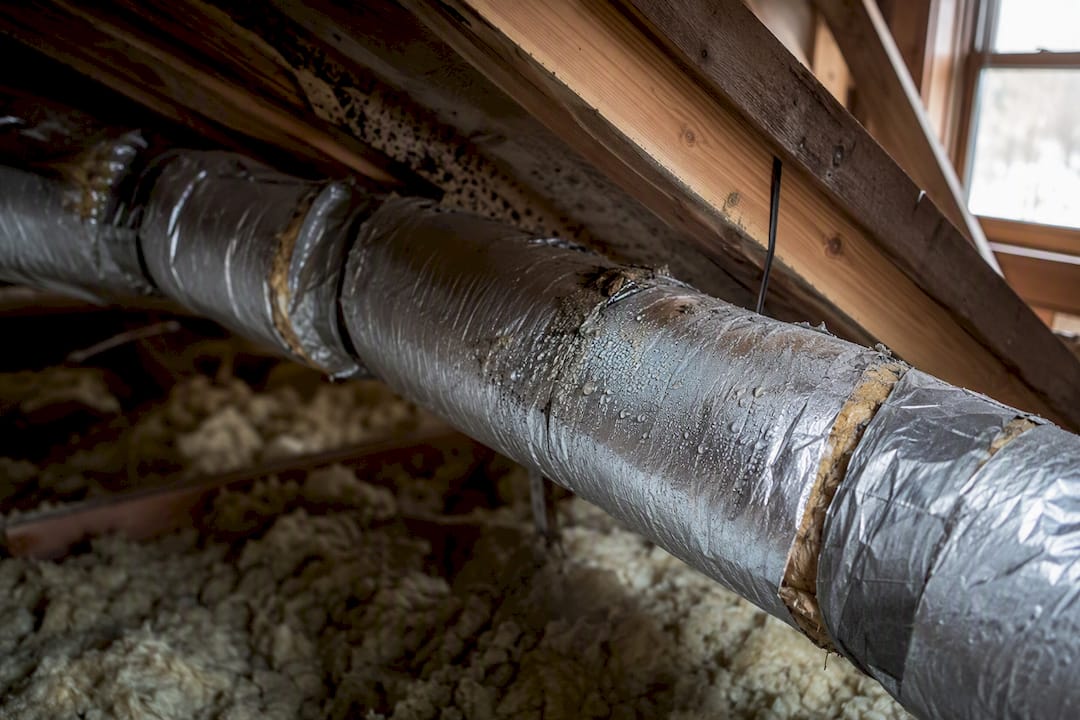
- Roof leaks, including wind-driven rain and ice dams, plus sweating ductwork that isn’t insulated.
- Blocked soffit vents or missing baffles, which choke off the intake side of the ventilation system even when the exhaust side looks fine.
How Do You Inspect an Attic for Mold Safely?
A flashlight and a five-minute look from the hatch will miss most of what matters. Physically entering the attic and checking the eaves, the north-facing roof slope, and the area directly above bathrooms is where the real evidence tends to show up.
- Suit up: N95 or better respirator, gloves, and long sleeves before you go up.
- Check sheathing and rafters near penetrations (plumbing stacks, exhaust fans, chimneys) for staining or soft spots.
- Look for frost on nail tips in winter. That’s a condensation signature, not a leak.
- Press a moisture meter against suspect wood and note the reading.
- Photograph everything, including insulation condition and any water stains on the underside of the roof deck.
- If you find soft or spongy wood, extensive staining across multiple rafter bays, or a persistent musty smell you can’t source, stop and call for a professional inspection.
Pro Tip: Never go up alone if you’re unsure of your footing or the attic has limited flooring. A second person at the hatch, even just to hand up tools, prevents a bad fall from becoming a worse day.
How Do You Clean Mold in an Attic Yourself?
If your patch is small, isolated, and sitting on solid wood, here’s the sequence that actually works without making things worse.
- Prep the space. Seal off the work area from the rest of the attic with plastic sheeting if practical, and clear stored items away from the zone.
- HEPA vacuum first. Pull up loose surface spores before you introduce any liquid, which just spreads them around otherwise.
- Clean with a mild solution. Hydrogen peroxide or an EPA-registered mold cleaner works on wood sheathing. Skip bleach on porous wood; it can’t penetrate the surface and often just bleaches the stain while leaving mold roots intact.
- Skip the sander. Sanding or scraping aerosolizes spores and creates a bigger air-quality problem than the mold itself.
- Let it dry completely with fans or the attic vent running before closing the area back up.
- Toss contaminated insulation rather than trying to salvage it, and bag it before carrying it through the house.
- Recheck in 30 to 60 days. A moisture meter reading that persistently sits above roughly 16 to 20 percent means the underlying driver is still active, no matter how clean the wood looks.
Pro Tip: A $30 hygrometer left in the attic for a week tells you more about whether your fix worked than a visual check ever will. If humidity stays above 60 percent up there, something is still feeding moisture in.
When Should You Call a Professional for Attic Mold?
Certain findings take the decision out of DIY territory entirely:
- The affected area exceeds roughly 10 square feet.
- Sheathing feels soft, spongy, or shows rot when you press a screwdriver into it.
- Mold has come back after a previous cleanup attempt.
- Anyone in the household has respiratory sensitivities or a compromised immune system.
Professional remediation typically includes containment barriers, HEPA air filtration, removal of contaminated insulation, controlled drying, and sometimes sheathing replacement, followed by a clearance check to confirm the job actually worked. That’s different from an inspection, which diagnoses the moisture driver and documents conditions without doing the physical remediation work. Costs vary widely by region and scope, but accessibility, the amount of insulation and sheathing that needs replacing, and post-work verification testing are the biggest cost drivers. Before hiring anyone, ask about their containment protocol, whether they use HEPA filtration, whether they carry insurance, and whether the price includes a post-remediation check to confirm the moisture source was actually fixed, not just the visible mold.
How Do You Prevent Mold From Coming Back in the Attic?
Cleanup without prevention is a temporary win. These fixes address the actual mechanics of attic moisture:
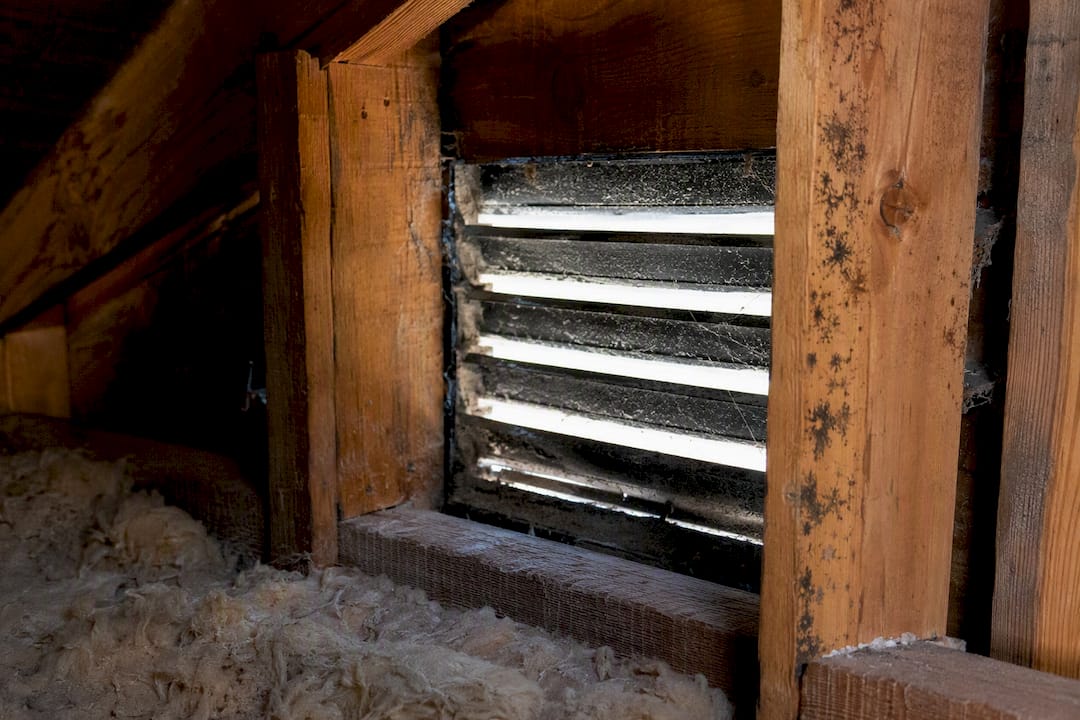
- Balance intake and exhaust. Soffit vents paired with a continuous ridge vent generally outperform gable vents for steady airflow, and mixing gable vents into a ridge/soffit system can short-circuit the whole design by pulling air sideways instead of up and out.
- Install baffles at every soffit bay. Loose insulation loves to slump over soffit openings and choke off intake air. A few dollars of foam baffle per bay keeps that channel open.
- Seal attic-floor penetrations. Recessed lights, the attic hatch, and plumbing chases are quiet leak points; weatherstripping and targeted spray foam close them cheaply.
- Reroute bathroom and dryer exhausts to the exterior, and insulate the ductwork itself so warm, moist air doesn’t condense on a cold duct wall halfway through the attic.
- Watch indoor humidity. Keeping household relative humidity under roughly 50 percent, combined with an attic humidity sensor for persistent problem homes, catches trouble before it becomes a stain on the sheathing.
Pro Tip: If you’re not sure whether your setup is a ridge vent, a gable vent, or some combination, that ambiguity is itself a warning sign. Mixed systems are one of the most common ventilation mistakes we see in older homes, and they’re often invisible from inside the house.
Homeowners dealing with duct routing issues alongside attic moisture problems should also have their HVAC system’s ductwork checked for insulation gaps that contribute to sweating.
Why diagnosis-first inspections save homeowners money
Cleaning mold without knowing why it grew is like mopping a floor under a leaking pipe. A proper mold inspection maps the actual driver, whether that’s a duct dumping into the attic or a ventilation imbalance, before anyone touches a sponge. We’ve seen inspections turn up a disconnected bathroom exhaust that had been “fixed” twice already, because nobody checked where the air was actually going.
Get a Professional Attic Mold Inspection Before You Decide
If your attic mold checks any of the professional-help boxes, above 10 square feet, soft sheathing, repeat growth, or a sensitive household, the smartest next move isn’t grabbing a scrub brush. It’s getting a diagnosis. Jhunthomeinspections offers both in-person and video walkthroughs of your attic, so you’re not stuck waiting weeks for a single available time slot, and every report comes back within 24 hours instead of sitting in a queue.

An inspection identifies the real moisture driver, whether that’s a misrouted exhaust duct, a ventilation gap, or roof flashing failure, and documents it with the kind of photo and moisture-reading evidence that remediation contractors and insurance adjusters actually need. If your home also has radon concerns alongside attic moisture, coordinating with a radon mitigation specialist at the same time can simplify scheduling. Before your visit, clear a path to the attic hatch and pull any stored items away from the suspected area so the inspector can get a full, unobstructed look. Ready to find out what’s really driving the moisture in your attic? Schedule an inspection and get a clear answer within a day.
Frequently Asked Questions
Can I clean attic mold myself, or do I need a professional?
You can typically handle patches smaller than about 10 square feet yourself with proper PPE and the right cleaning method. Anything larger, or sheathing that feels soft or spongy, needs a professional remediator.
What does frost on attic nails mean?
It signals condensation, not a roof leak. Warm, moist air is hitting cold metal and freezing overnight, which points to a ventilation or air-sealing problem rather than water intrusion from outside.
Will bleach kill attic mold on wood sheathing?
Bleach sits on the surface of porous wood and often just lightens the stain without reaching the mold’s roots. Hydrogen peroxide or an EPA-registered mold cleaner works better on sheathing.
How much does professional attic mold remediation cost?
Costs vary by region, accessibility, and how much insulation or sheathing needs replacing. Get quotes from a few licensed remediators and ask whether post-work clearance testing is included.
Does a mold inspection find the cause, or just confirm mold is present?
A thorough inspection does both. It documents visible conditions, takes moisture readings, and identifies the likely driver, whether that’s a ventilation gap or a misrouted exhaust, so remediation targets the right problem.
Sources
- PNNL/BASC — Disaster-resistant roof venting
- InspectandTest — Black mold in attic: causes, risks, and cleanup
- This Old House — Gable vents and attic ventilation
Recent Comments