
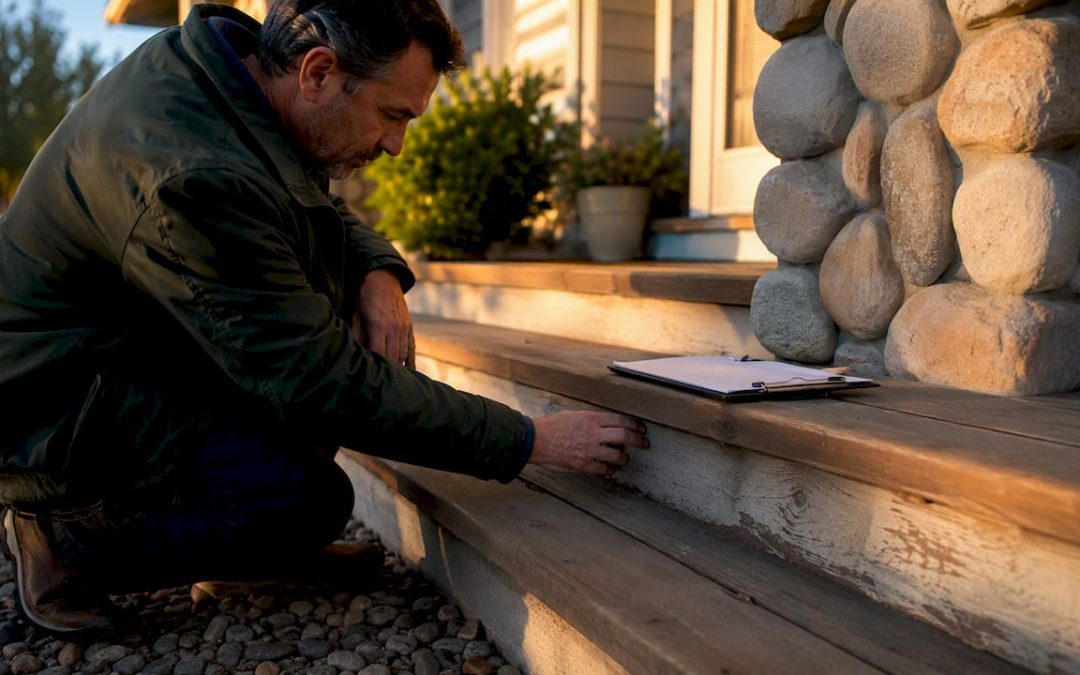
Hire a licensed home inspector the day your offer is accepted, not the day before your contingency expires. Schedule the walkthrough inside your contract’s inspection window, show up in person if you can, and turn the finished report into a Create Request List™ before you talk repairs with the seller. That single sequence, inspection, walkthrough, documented request, is what protects your USDA loan timeline and gives you real leverage at the negotiating table.
Here’s what to do in the next 48 hours:
- Call a licensed inspector today and confirm they can deliver a report within 24 hours.
- Tell your agent and lender the inspection date so nobody is surprised by the timeline.
- Block time to attend the walkthrough yourself, even a partial visit beats skipping it entirely.
A documented inspection with a room-by-room walkthrough does two things at once: it protects you from buying hidden problems, and it gives you a negotiation window to request repairs, credits, or a price adjustment before you’re locked into closing.
Table of Contents
- What Does a USDA Loan Inspection Requirements Walkthrough Cover?
- What Doesn’t a Home Inspector Check?
- What Should You Do During the Buyer Walkthrough?
- How Do You Turn an Inspection Report Into Repair Requests?
- How Do You Choose a Qualified Home Inspector?
- Which Specialty Inspections Should You Add?
- What Happens After the Inspection Is Complete?
- How Hunt Home Inspection Supports USDA-Loan Buyers
- Sources
What Does a USDA Loan Inspection Requirements Walkthrough Cover?
A standard home inspection evaluates the visible, accessible parts of a house, roof, foundation, exterior cladding, electrical panel and wiring, plumbing, HVAC, attic, basement or crawlspace, interior finishes, windows and doors, and any decks or porches. For USDA-loan buyers, this is separate from the appraisal your lender orders. It’s a paid, buyer-directed evaluation focused entirely on your interests.
Inspectors document what they find with photos, written severity notes, and, often, an estimate of how much useful life a system has left. A report that says “furnace shows rust at the heat exchanger, recommend HVAC technician evaluation before closing” is far more useful than a vague checkmark. That specificity is what turns into a defensible repair request.
| System or area | What the inspector checks | Why it matters to you |
|---|---|---|
| Roof and gutters | Shingle wear, flashing, drainage, signs of leaks | Deferred roof repair is expensive and often a lender flag |
| Foundation and structure | Cracks, settling, moisture intrusion | Structural issues affect safety and resale value |
| Electrical system | Panel condition, wiring type, outlet grounding | Outdated wiring is a fire risk and insurance concern |
| Plumbing | Pipe material, water pressure, leaks, water heater age | Old galvanized pipe often needs near-term replacement |
| HVAC | Furnace and AC condition, age, filter maintenance | Replacement costs run into the thousands |
| Attic, basement, crawlspace | Insulation, moisture, pest evidence, ventilation | Hidden moisture leads to mold and wood rot |
Most inspectors, including Hunt Home Inspection, deliver the full written report within 24 hours of the walkthrough. That speed matters because USDA-loan purchase contracts run on tight contingency windows, and a delayed report can eat into the days you have left to negotiate.
What Doesn’t a Home Inspector Check?
A general inspection has real limits, and knowing them upfront keeps you from assuming coverage you don’t actually have. Inspectors work from what’s visible and accessible; they won’t cut into walls, climb an unsafe roof, or run specialized tests on underground systems without separate equipment.
Typical exclusions include:
- Components hidden behind finished walls, flooring, or ceilings.
- Underground utility lines, septic tanks, or well casings.
- Wood-destroying organism (termite) reports, unless specifically ordered.
- Environmental testing for radon, mold, asbestos, or lead paint.
- Chimney interiors beyond a visual check from the firebox.
- Code compliance or permit history verification.
Rural properties, older homes, and houses with any history of water intrusion are exactly where USDA buyers should add specialty tests rather than assume a standard inspection caught everything.
Pro Tip: Order any specialty tests, radon, well water, septic, the same week you schedule your main inspection. Waiting until after you see the report often costs you days you don’t have left in your contingency period.
What Should You Do During the Buyer Walkthrough?
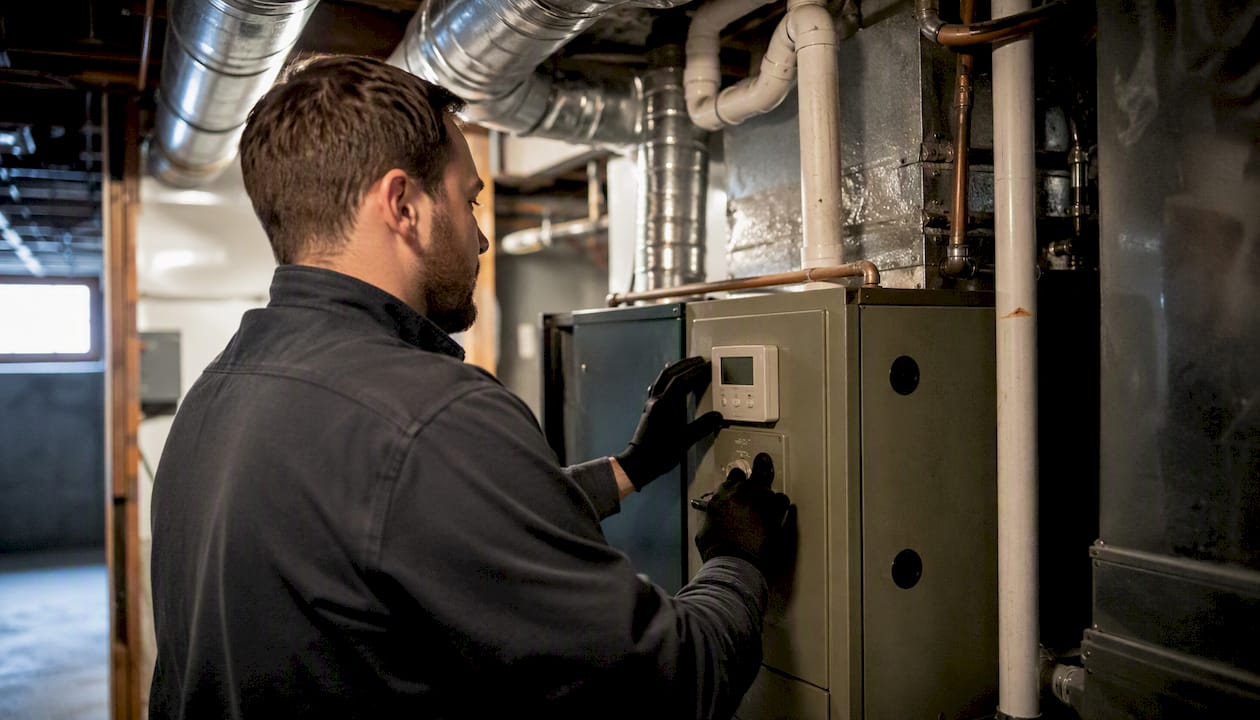
Follow the inspector, but give them room to work. Stand where they point, ask questions between rooms rather than mid-task, and resist the urge to run faucets or open windows while they’re testing systems, doing so can throw off pressure and airflow readings they’re relying on.
| Area | What to watch for | What to document |
|---|---|---|
| Exterior and roofline | Cracked siding, sagging gutters, grading that slopes toward the house | Wide shots plus close-ups of any damage |
| Kitchen | Cabinet and counter condition, appliance age, sink and disposal function | Model numbers on major appliances |
| Bathrooms | Water stains, caulk gaps, toilet stability | Photos under sinks and around tub surrounds |
| Basement/crawlspace | Musty smell, standing water, foundation cracks | Video walk-through, not just stills |
| Mechanical room | Water heater age sticker, furnace filter condition, panel labeling | Photo of data plates and breaker labels |
| Garage | Door auto-reverse function, floor cracking | Note any modifications from original build |
While you’re there, locate and photograph the main water shutoff, the gas shutoff, and the electrical panel disconnect. You’ll need these locations the day you move in, and having them documented now saves a frantic search later. A short video walking through each utility location, narrated with what it controls, is worth more than a dozen still photos.
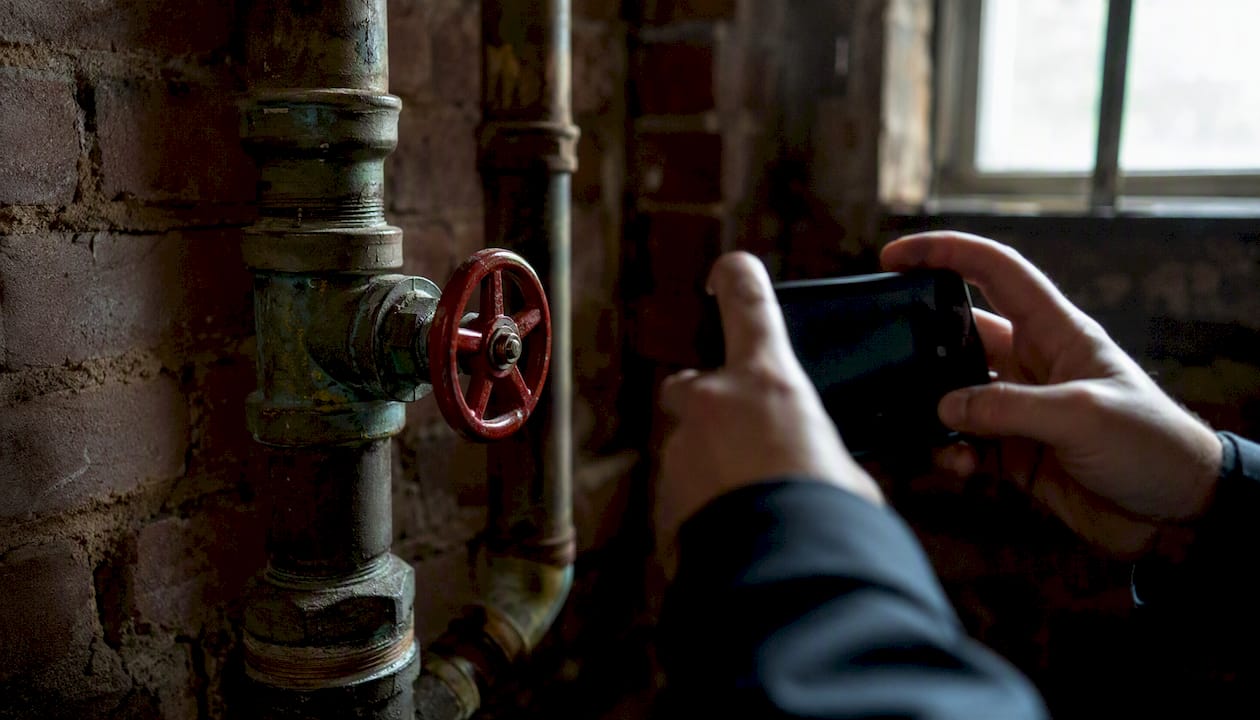
Name your files by room and issue (“basement_foundation_crack_1.jpg”) so your agent isn’t guessing what “photo 47” shows. For a fuller day-of routine, Jhunthomeinspections’ buyer walkthrough guide walks through the same process room by room.
How Do You Turn an Inspection Report Into Repair Requests?
- Read the full report first, don’t skim. Separate items into three buckets: safety and structural issues, major-system concerns, and routine maintenance notes.
- Prioritize safety and major-system items for negotiation. Inspectors typically flag items by severity, and your leverage is strongest on anything marked “major” or “safety.”
- Consult your agent before drafting anything. They know what similar sellers in your market have accepted.
- Build your request list. This is where the Create Request List™ workflow earns its keep, it pulls report line items directly into an editable request document instead of you retyping findings by hand.
- Attach cost context where you can. A contractor estimate or even a rough repair-cost range makes a request harder to dismiss.
- Present the list to the seller through your agent, with a response deadline that still fits your loan’s closing schedule.
Sample phrasing that works: “Buyer requests seller repair the active roof leak identified in Section 3 of the inspection report, or provide a credit of [contractor estimate] at closing.” Specific, sourced, and easy for a seller’s agent to act on.
Lenders underwriting a USDA loan get nervous about undocumented condition issues. A repair request built directly from a dated, itemized inspection report, rather than a buyer’s verbal concern, gives underwriting something concrete to close the file on, which reduces the odds of a last-minute condition holding up your loan.
How Do You Choose a Qualified Home Inspector?
Start with credentials. Membership in ASHI (American Society of Home Inspectors) or InterNACHI (International Association of Certified Home Inspectors) signals ongoing training and a code of ethics the inspector answers to. State licensing requirements vary, so ask directly whether your state requires one and confirm the inspector holds it.
| Credential type | What it signals |
|---|---|
| ASHI membership | Standards of practice, continuing education requirements |
| InterNACHI membership | Certification testing, access to specialized training modules |
| State license (where applicable) | Legal authorization to perform inspections in that state |
| E&O insurance | Financial protection if a missed defect leads to a dispute |
Before hiring, ask each candidate for a sample report, their typical turnaround time, which specialty tests they offer as add-ons, whether they’re available for a re-inspection later, and exactly what their base fee includes. A standard single-family inspection typically runs $300 to $500, with specialty tests priced separately. If an inspector won’t share a sample report or hedges on turnaround time, treat that as a red flag and keep calling. Jhunthomeinspections’ inspector vetting checklist covers the full interview in more depth, and a pre-purchase electrical inspection is worth understanding if your inspector flags wiring concerns that need a specialist.
Which Specialty Inspections Should You Add?
Radon testing makes sense in any region with known elevated levels, and it’s cheap insurance relative to the health stakes. A wood-destroying organism (termite) report matters most in older homes or anywhere you see mud tubes, frass, or soft wood trim. Sewer camera scoping is worth the cost on any home over 30 years old, since a collapsed clay lateral runs into thousands of dollars to replace.
Septic and well testing are close to mandatory on rural USDA-eligible properties that aren’t on municipal systems, lenders and insurers increasingly ask for documentation on both. Mold or asbestos testing becomes relevant when a home shows visible water staining, a musty basement smell, or was built before the materials were phased out.
Order these alongside your main inspection rather than after, since waiting for results after the fact often burns days you don’t have. Every specialty report feeds into the same Create Request List™ your main inspection populates, so sellers see one consolidated document instead of three separate complaints.
What Happens After the Inspection Is Complete?
Once the seller agrees to repairs or a credit, ask for receipts and any contractor warranties in writing. Photos of completed work, not just a verbal “it’s done,” give you something to hold onto if a problem resurfaces after closing.
- Request a re-inspection if repairs were seller-completed and the item was safety-related or structural.
- Confirm your lender will accept photo documentation versus requiring a formal re-inspection report.
- Keep a written record of every agreed repair, credit amount, and deadline in one place.
- Build in a few extra days of buffer when negotiating a cure plan, so a slow contractor doesn’t blow your closing date.
Staying organized here is what keeps your USDA loan on schedule. Underwriters move faster when they see a resolved, documented condition issue rather than an open question mark.
Why We Push Buyers to Treat the Walkthrough as Education, Not Just a Checkbox
The buyers who come out of closing feeling confident aren’t the ones who got a flawless report, they’re the ones who understood what was in theirs. When you follow your inspector room to room, you learn where your shutoffs are, how your furnace behaves before it fails, and what “normal wear” looks like on a 40-year-old roof. That knowledge doesn’t show up in any negotiation, but it saves you a panicked call to a plumber six months after move-in.
I’ve seen too many first-time and veteran buyers treat the inspection as a formality between offer and closing, something to get through rather than something to use. A 24-hour report turnaround only helps if you actually read it and act on it fast enough to matter within your contingency window. Pair a fast report with a documented Create Request List™, and you’ve given your lender exactly the paper trail underwriting wants to see, and given yourself a much clearer picture of what you’re actually buying.
How Hunt Home Inspection Supports USDA-Loan Buyers
Hunt Home Inspection, LLC is the practical next step for anyone who just read this entire process and thought, “I need someone who actually does this the right way.” We built our service around exactly the workflow described above: buyer’s inspections with a 24-hour report turnaround, in-person or video walkthroughs so you can attend even if your schedule is tight, and Create Request List™ support built into every report we deliver.
We work with first-time buyers, low-income households, and veterans across St. Louis Metro and Southern Illinois every week, and we know USDA-loan timelines don’t leave room for a slow inspector. Specialty add-ons, radon, termite, sewer scope, septic, and well, can be scheduled alongside your main inspection so nothing delays your closing date. If upfront cost is a concern, ask about our pay-at-close option when you book. Ready to see what your report will actually look like? Review a sample report or head straight to our inspection services page to check availability and get scheduled this week.
Quick Recap: Protecting Your USDA Loan Closing
A documented inspection and walkthrough, converted into a Create Request List™, is what protects your negotiating position and keeps your USDA loan on schedule.
| Point | Details |
|---|---|
| Hire immediately | Schedule a licensed inspector as soon as your offer is accepted, inside your contract’s contingency window. |
| Attend and document | Follow the inspector room to room, photograph shutoffs, and record defects with timestamped images. |
| Build the request list | Convert report findings into a Create Request List™ before approaching the seller with repair or credit requests. |
| Order add-ons early | Schedule radon, septic, well, or sewer scope tests alongside the main inspection to avoid closing delays. |
| Verify before closing | Confirm repairs with receipts, photos, or a re-inspection, and consider Jhunthomeinspections for a 24-hour report and Create Request List™ support. |
Trusted Resources for USDA-Loan Buyers
- InterNACHI, a certification body where you can verify an inspector’s training and find buyer-focused inspection guides.
- ASHI, the American Society of Home Inspectors, useful for confirming membership standards and inspection value data.
- Create Request List™, the workflow referenced throughout this guide for converting report findings into a shared repair request.
- Hunt Home Inspection’s sample report, so you know exactly what to expect before you book.
- Hunt Home Inspection’s service page, for scheduling, service areas, and add-on options.
Sources
- Homebuying: Home Inspection (InterNACHI)
- Value of a Home Inspection – American Society of Home Inspectors, Inc.
- The Home Inspection: Do’s and Don’ts for Home Buyers – NerdWallet
- 10 reasons you shouldn’t skip a home inspection – Investopedia
Recent Comments